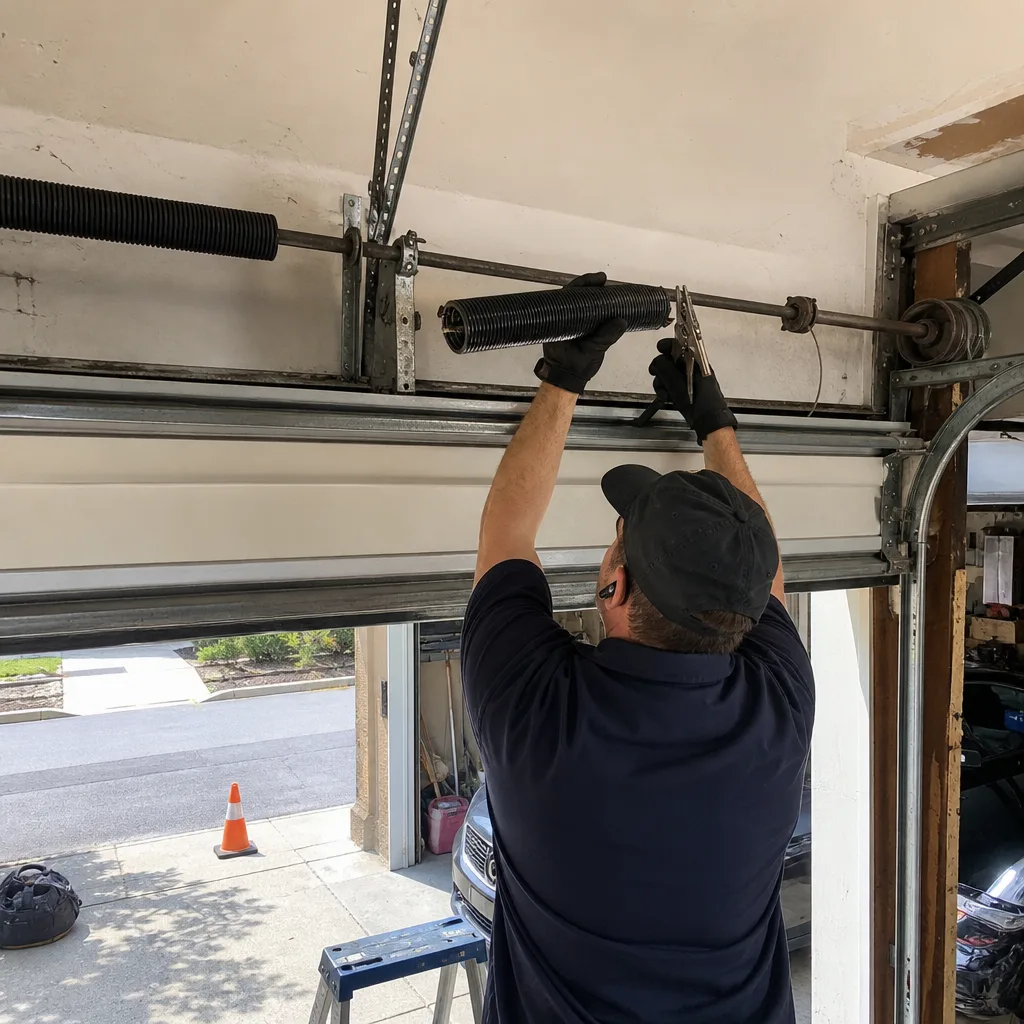
Last updated November 21, 2026
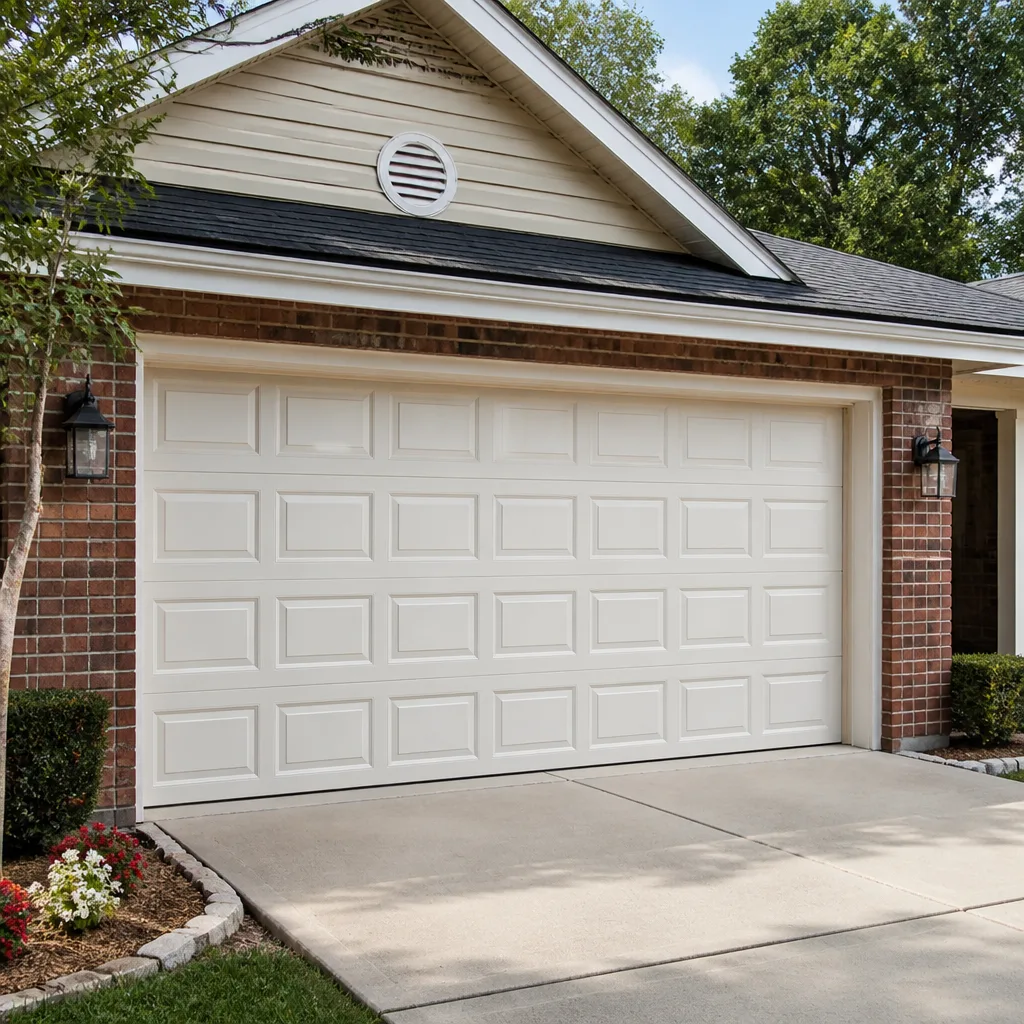 Raised-panel steel
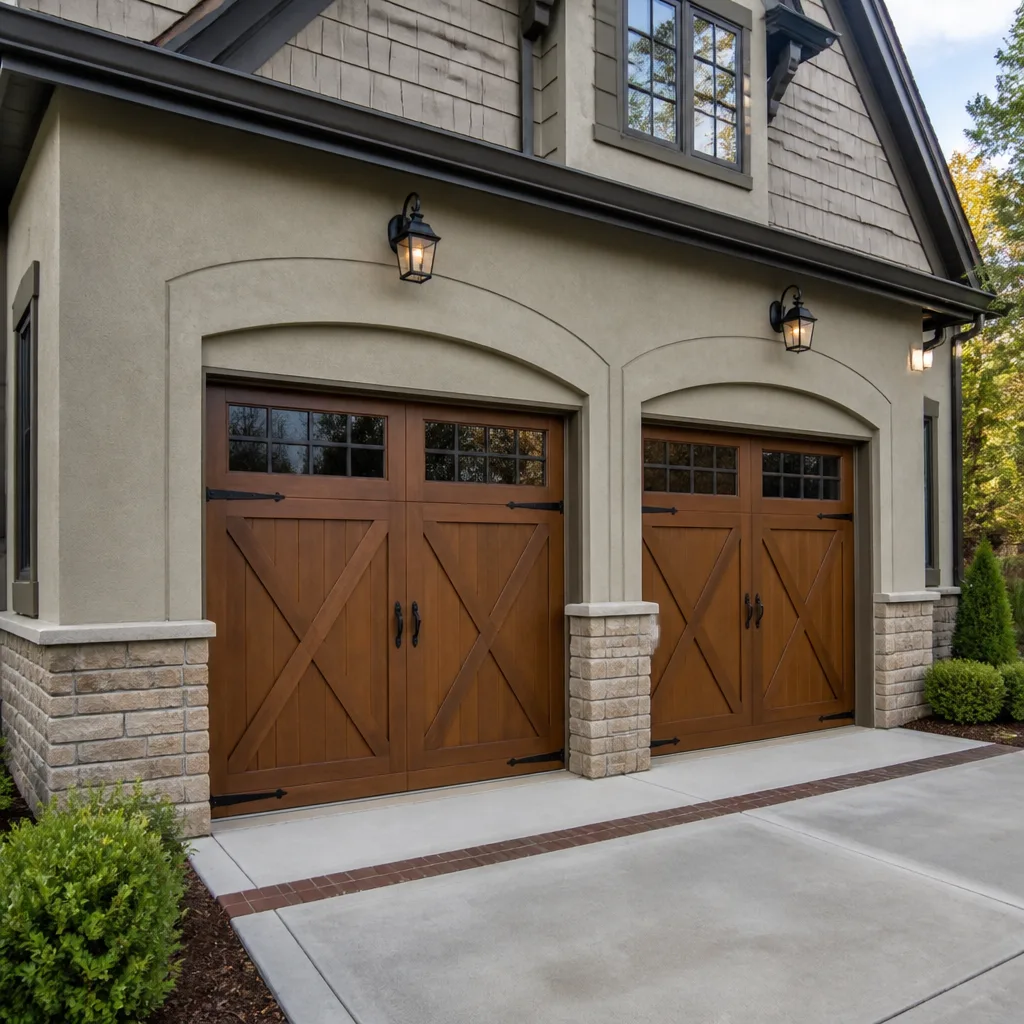 Carriage house
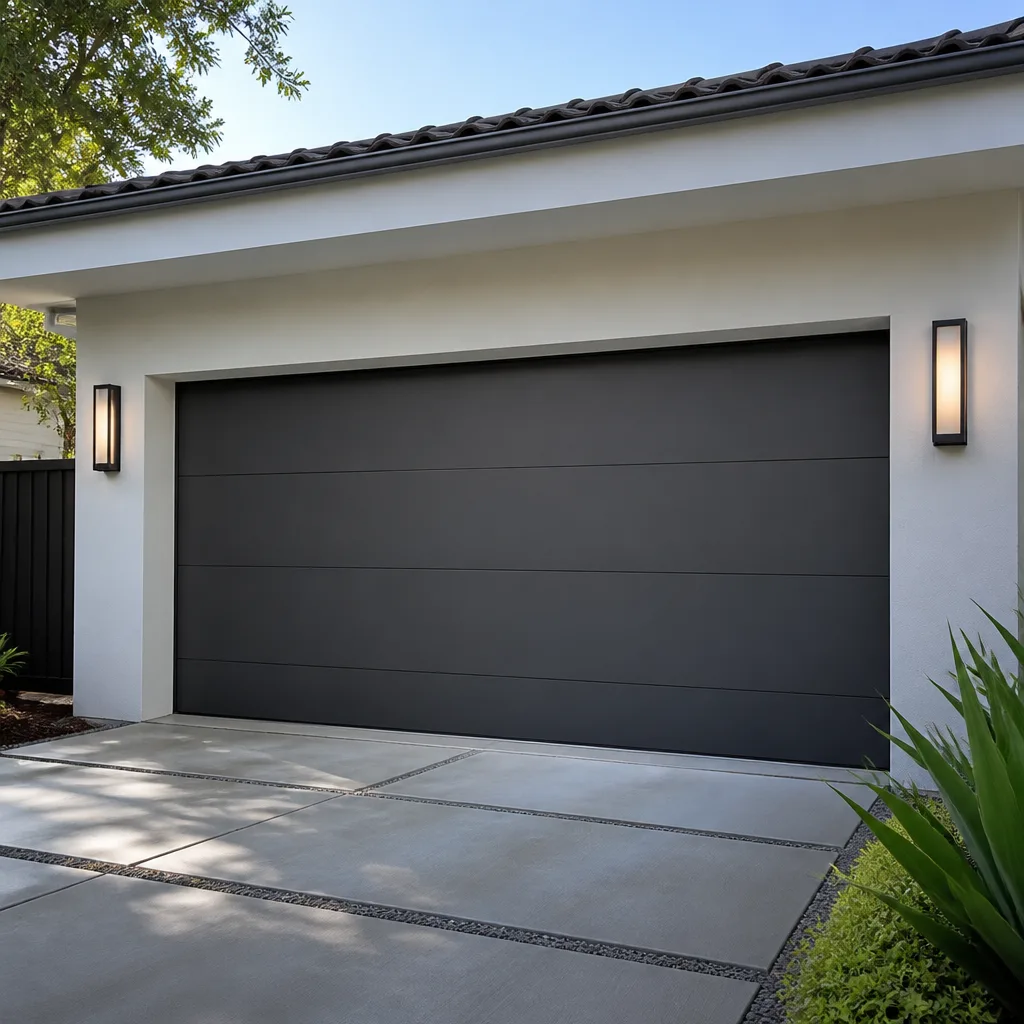 Modern flush
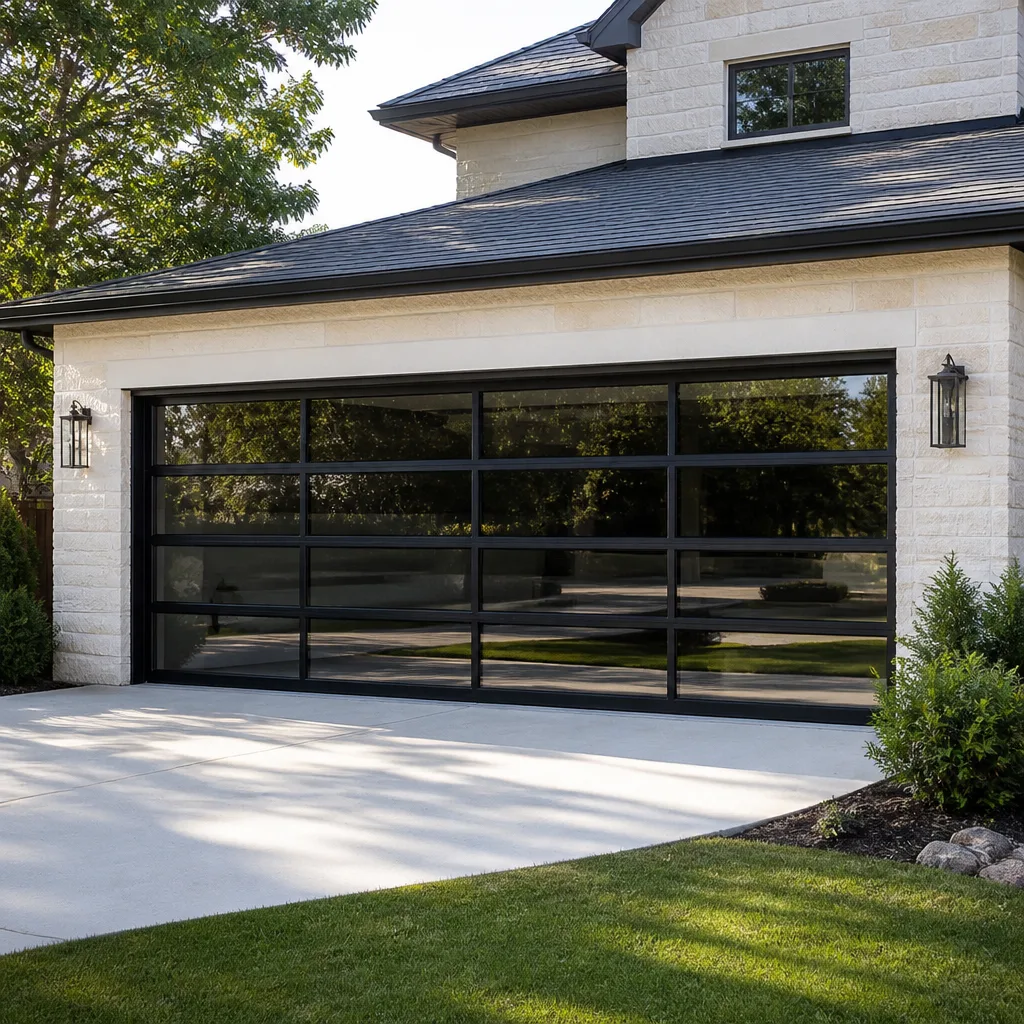 Full-view glass
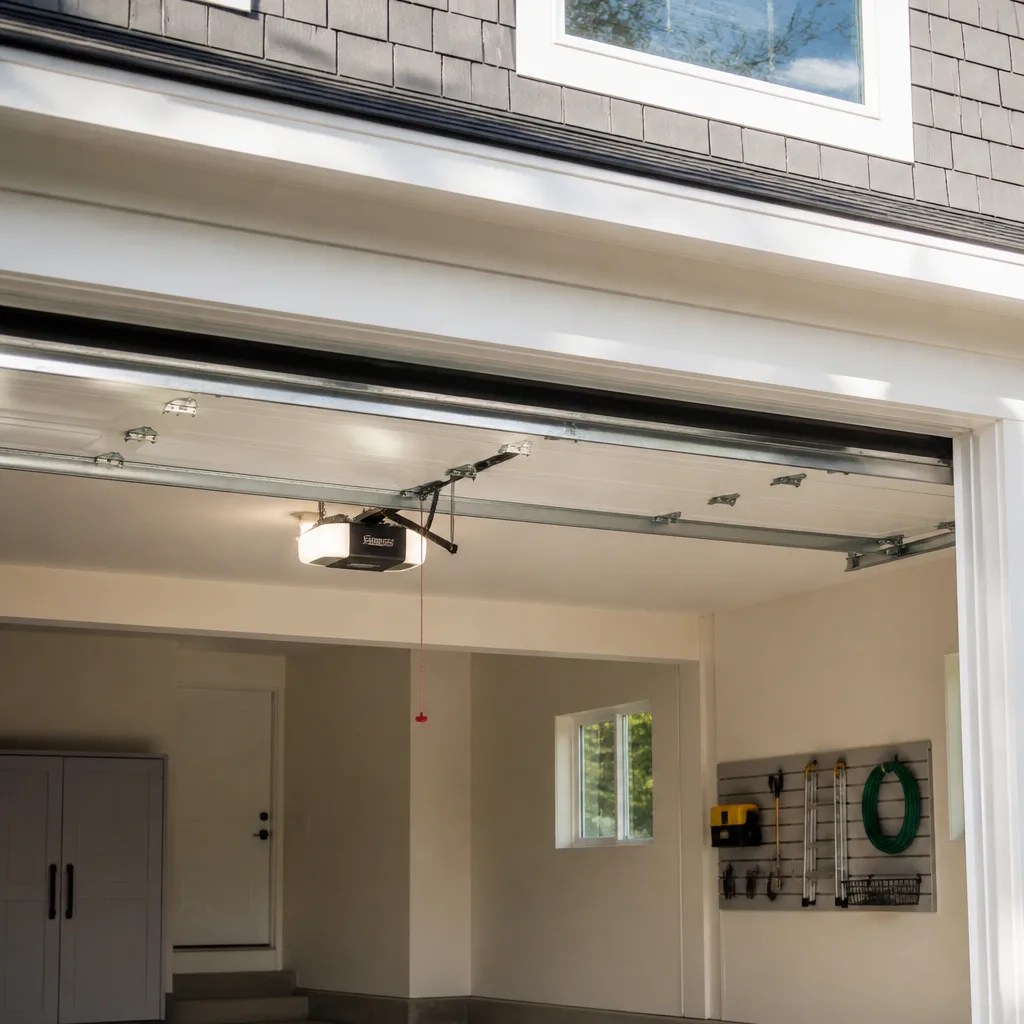 LiftMaster openers
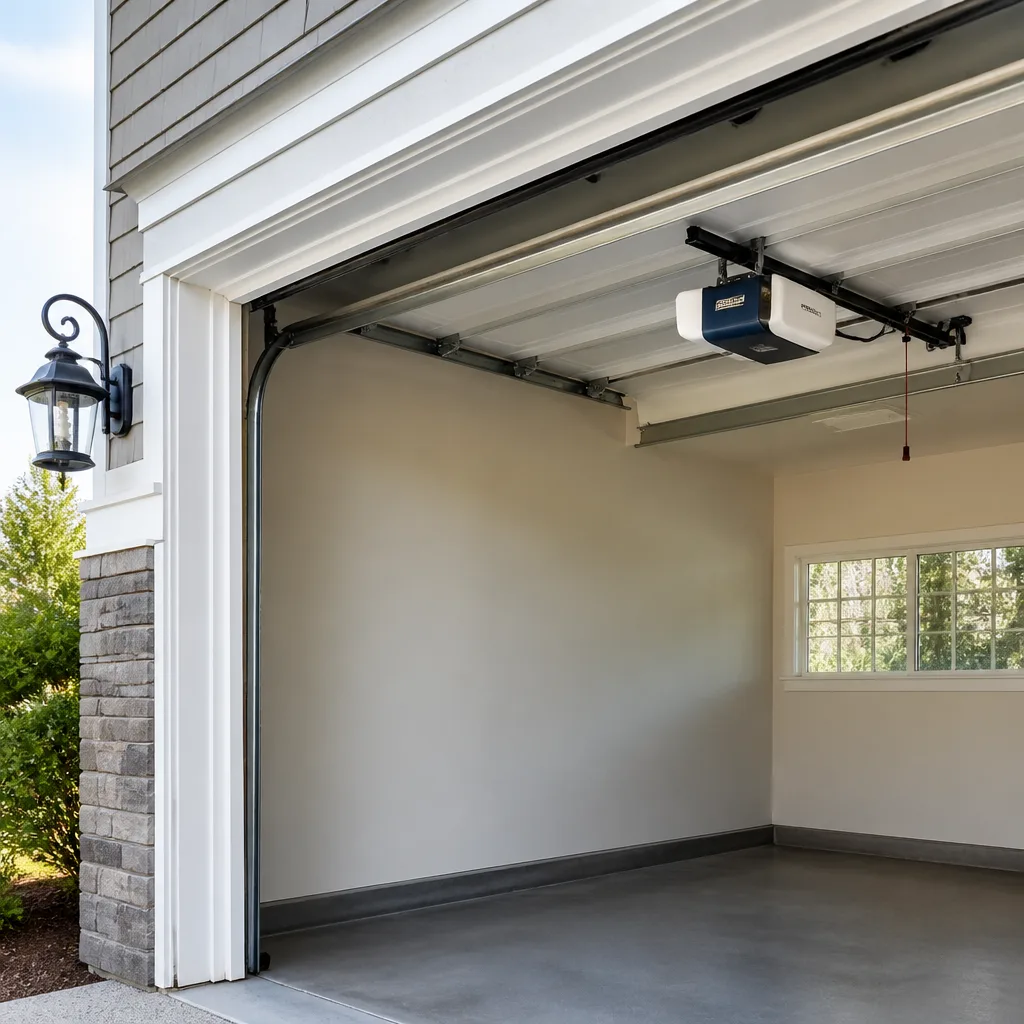 Chamberlain openers
Full 25-point door and opener safety check with every visit - springs, cables, rollers, tracks, and your LiftMaster or Chamberlain opener included
You get a price before we start. It does not change when the pro arrives.
Get your free estimateGarage Door Repair Maintenance Checklist for Brookline Homeowners
Most garage door checklists tell you to lubricate the rollers, test the balance, and wave a broomstick at the safety sensors. Those are fine habits. But they’re not the reason a door that seemed fine last month suddenly won’t open. The part that fails most often sits above eye level, tucked against the header, and nobody ever told you to look at it. In this guide, we’re going to walk through a maintenance checklist built from the failure points we see on service calls around Brookline, not from a manufacturer’s pamphlet. You’ll learn what to inspect, how to test it safely, and when a trained technician should take over – especially for springs, which can hurt you if you get it wrong.
Quick Answer
A good garage door maintenance routine covers more than lubrication: you need to inspect the cable drums and bottom brackets, test spring tension without touching the springs, check weatherseals before winter, and confirm your opener’s force limit and auto-reverse are working to a specific pass/fail standard. In Brookline, where freeze-thaw cycles and humid summers work on metal and seals year-round, a seasonal interval works better than a fixed twice-a-year schedule. Anything involving springs, cables, or the counterbalance system should go to a trained professional.
Styles & brands we work with
- Raised-panel steel
- Carriage house
- Modern flush
- Full-view glass
- LiftMaster openers
- Chamberlain openers
Table of Contents
- The Parts Homeowners Overlook (And Technicians Find First)
- How to Test Spring Tension Without Touching the Springs
- Weatherseal Inspection for Brookline’s Winters
- Testing Your Opener’s Force Limit and Auto-Reverse
- Cables, Rollers, and Hinges: What to Look For
- A Seasonal Maintenance Calendar That Fits This Climate
- Brand-Specific Notes for Common Local Doors
- What You Can Safely Do Yourself vs. What Needs a Pro
The Parts Homeowners Overlook (And Technicians Find First)
The number-one cause of a sudden garage door failure in a home that appears “well-maintained” is a hardware problem in the cable drum or bottom bracket assembly – parts that sit above the door and below it, out of sight from the floor. Homeowners lubricate the obvious things and never look at these. Then one morning the door comes down crooked, or a cable jumps its drum, and the whole system is out of commission. When we respond to calls across Brookline, these are the components we consistently find worn, corroded, or seized.
Here’s what to actually inspect on your cable and bracket system:
- Cable drums (top corners): Look for frayed cable ends, cables that have wound unevenly, or a drum that’s cracked or loose. Cables should sit cleanly in the groove, not crossed over themselves.
- Bottom brackets (lower corners): Check for rust, bent metal, or bolts that have worked loose. These take the most stress because they anchor the bottom of the door and the cable.
- Cable condition: Fraying, kinks, or exposed wire strands are a stop-and-call sign. A failing cable under tension is dangerous and can snap without warning.
- Drum-to-shaft connection: With the door closed, the drum should be firmly seated. Any wobble means it needs professional attention.
Why do these fail here specifically? Pittsburgh-area homes see repeated freeze-thaw cycles through the winter. Moisture gets into the joint where the drum meets the shaft, then expands when it freezes and contracts when it thaws. Over a few seasons, that small movement works bolts loose and starts corrosion in places you’d never notice until something gives. Older doors in Brookline are especially prone because the original hardware wasn’t built for decades of that cycle. When we work on a garage door repair call and find a seized drum, it usually started as a tiny amount of rust years ago.
If you spot any of the warning signs above, don’t try to adjust or tighten the drum or bottom bracket yourself. Those components are under cable tension, and loosening the wrong bolt can release that tension in a hurry. That’s genuinely a job for a trained technician.
How to Test Spring Tension Without Touching the Springs
You can assess the health of your springs entirely from a safe distance – no touching required. Springs are the most hazardous component on any garage door, and we mean that literally: they hold the full weight of the door under extreme tension. You do not need to reach for them to know whether they’re fading. There are reliable visual and operational cues that tell you how much life they have left.
Before you do any of these tests, disconnect the opener if you can do so safely at the wall control, and make sure no one is standing under the door. Then use this sequence:
- Look at the spring coil: A healthy torsion spring has an even coil with no visible gaps. A small gap of an inch or so is normal as the spring ages – but if the gap is clearly wider than that, the spring has lost significant tension and is due for replacement.
- Look for separation: A broken spring usually has a clean break you can see from the floor with a flashlight. If the door won’t lift at all by hand, assume a spring has broken.
- Do the manual lift test: With the opener disconnected, lift the door by the handle to about waist height. A door with healthy spring tension should lift with modest effort – a door that feels very heavy needs help you shouldn’t be providing.
- Do the balance check: Lift the door to the halfway point and let go gently. A balanced door holds its position or drifts only slightly. A door that slams down or flies up indicates spring tension problems.
- Watch the door travel: If the door goes up unevenly – one side higher than the other – the springs aren’t working together and need professional evaluation.
If any of these tests flag a problem, do not attempt to adjust the springs yourself. Torsion springs, in particular, require specific winding tools and training. This is the part of garage door work where people get seriously injured. We offer dedicated spring repair for exactly this reason – a trained technician can measure remaining life, replace a pair if needed, and make sure the door is balanced before it goes back into service. Note that a matched pair of springs is typically replaced together, so a pair costs roughly double a single spring.
One more piece of advice that saves a lot of wasted effort: if one spring is at the end of its life, its partner usually is too. They were installed together, they’ve cycled the same number of times, and one will fail very shortly after the other. Replacing both at once is the honest recommendation almost every time.
Weatherseal Inspection for Brookline’s Winters
Cracked, compressed, or missing weatherseal lets cold air, moisture, and pests into your garage all winter – and it costs you more than you’d expect. A failed bottom seal lets meltwater pool at the door’s base, where it freezes, expands, and stresses the bottom bracket and panel edge. That’s not a comfort problem; it’s a hardware problem waiting to happen. Around Brookline, the seals that sit tight through October often look compressed and brittle by February.
Here’s what to check, section by section:
- Bottom seal: Run your hand along the base of the closed door. You should feel consistent contact with the floor with no light gaps. Cracks, tears, or a seal that’s flattened and hard means replacement. Look for daylight showing under the door.
- Side jambs: The vertical seals on either side of the opening should press against the door evenly. Worn seals that don’t make contact let wind-driven rain and cold air in.
- Top seal: This is the one most homeowners forget. The seal at the top of the opening sits right against the header, and it’s often the first to fail because heat rises and dries the rubber faster there.
- Corner transitions: Check where the bottom seal meets the side seals. Gaps at the corners leak cold air even when everything else is tight.
The energy cost of a failed seal isn’t huge on its own, but it compounds with damage to the door. A door that’s binding, sagging at one corner, or accumulating water at the base shortens the life of the panels, the hinges, and the bottom bracket. Weatherseal replacement is one of the cheaper maintenance items you can do, and it’s a job we take care of alongside other small fixes. If you’re already in the garage checking seals, it’s a good time to also note whether the door’s bottom panel edge shows rust or peeling paint. Consistent moisture gets under the paint film, and once paint starts to peel at the bottom, the panel is open to more damage every time the door gets wet.
The right time to inspect weatherseals in Brookline is early fall, before the first hard freeze. Seals that are only slightly worn are much easier to live with through a mild October than through a February cold snap. Small problem now, much bigger problem later – this is the kind of maintenance that pays for itself in avoided repairs.
Testing Your Opener’s Force Limit and Auto-Reverse
Your opener’s auto-reverse system is a safety feature, and “make sure it reverses” isn’t good enough. It needs to pass a specific test with a specific result. Here’s how to check both the safety reverse and the force limit properly, and what to do if either fails.
The auto-reverse test (do this once a month):
- Open the door fully, then close it and stop it about a foot from the floor.
- Place a roll of paper towels or a piece of 2×4 flat on the ground directly under the center of the door.
- Press the wall control to close the door.
- Pass: The door contacts the object and reverses to the open position immediately.
- Fail: The door presses on the object, stalls, or continues trying to close. If this happens, the opener needs adjustment or repair before you use the door again.
The non-contact reverse test (this checks the safety sensors at the bottom of the tracks):
- Close the door using the wall control.
- While the door is closing, wave a broomstick or a large object through the beam between the two sensors near the floor.
- Pass: The door reverses to fully open.
- Fail: The door keeps going. On some openers the light on the sensor blinks, which tells you the beam is broken or the alignment is off.
Force limit testing: most modern openers like a LiftMaster or Chamberlain have a force adjustment at the back of the motor unit. The test is whether the door can close fully and then stop cleanly when it meets resistance – not too hard, not too soft. If the door pushes dangerously before reversing, the force limit is set too high. If it reverses when nothing’s in the way, it’s set too low. Both need adjustment.
Testing these is safe and worthwhile. Adjusting the force limit is doable for many homeowners, but if you’re not sure, call us. A door that overpowers an object on the ground is a real hazard, not just an annoyance. If your opener is misbehaving more broadly – irregular travel, a remote that only works close up, or a light that stays on – that’s usually a sign the unit needs service. We handle garage door opener repair on both modern Wi-Fi-enabled openers and older mechanical units, and we’re certified familiar with the major brands, so we’re not troubleshooting blind.
Cables, Rollers, and Hinges: What to Look For
Cables, rollers, and hinges wear out quietly. You can inspect all three safely from the floor if you know what to look for. Here’s the short list for each.
Cables: Look at the section that runs from the bottom bracket up to the drum. It should be a smooth, continuous strand with no kinks, rust, or fraying. Cables that have ridden off the drum are a stop-and-call situation. Never touch cables that are under tension.
Rollers: Factory rollers are metal or nylon. Nylon rollers develop flat spots and should be replaced when they get noisy or start binding. Look for cracks or missing pieces. A roller that’s seized will make the door judder on the way up or down.
Hinges: Check for looseness at the screws, rust, and bent plates. Loose hinges let the panels shift sideways, which eventually leads to binding. If a hinge is bent, the panel may be bowed too – don’t replace the hinge until you’re sure.
Track: Look down the length of both tracks – they should be straight and parallel. Dents, bends, or a track that’s separating from the wall means the door’s tracking is off. Track work is a professional job because the door can fall out of the guides.
These are parts you can inspect and, in some cases, replace without much risk. But any of these issues combined – a fraying cable plus a bent track, for example – means the whole door needs a professional look. When we diagnose a repair call, the safe order is to fix anything structural first, then replace worn parts. A technician can also confirm whether a struggling door needs a straightforward repair or is heading toward replacement. If it’s heading toward replacement, we handle garage door installation too, so there’s no need to start over with a different company.
A Seasonal Maintenance Calendar That Fits This Climate
A generic “twice a year” routine doesn’t match how doors actually wear in Brookline. Cold winters, spring freeze-thaw cycles, and humid summers each stress different components. Here’s a calendar built around those seasons.
Early fall (before the first hard freeze):
- Inspect weatherseals and replace any that are brittle or compressed.
- Check bottom brackets and cable drums for rust. Clean and treat surface rust before winter.
- Lubricate rollers, hinges, and the torsion spring coils with a proper garage door lubricant (not WD-40, which isn’t a lubricant).
- Run the auto-reverse and sensor tests.
Mid-winter (a quick check after the first big cold snap):
- Listen for new noises. Cold hardens lubricant and metal, so creaks and groans that appear only in winter are usually lubrication issues.
- Clear snow and ice from the base of the door – don’t let it freeze into the seal.
- Test the door balance once; contraction can reveal a spring that’s near the end of its life.
Spring (after the freeze-thaw cycle ends):
- This is prime inspection time for the cable drums and bottom brackets. If any corrosion started, you’ll see it now.
- Re-test the balance. Winter can expose a wearing spring.
- Check that the tracks haven’t shifted through frost heave. The floor of a garage moves, and the door needs to clear it.
Early summer (before the humid stretch):
- Inspect seals for summer cracking (sun and heat dry rubber out).
- Lubricate again after the spring dust settles.
- Test the opener force limit and auto-reverse.
That’s four light inspections a year, roughly twenty minutes each, plus professional service if anything looks off. Call us for a free estimate on any repair we recommend.
Brand-Specific Notes for Common Local Doors
We’re certified familiar with eight of the industry’s top brands, and that matters for maintenance because each system has its quirks. Here’s what to watch on a few of the common ones.
LiftMaster and Chamberlain: These share engineering DNA and have very responsive safety reverse. On Wi-Fi-enabled models, force limit adjustments are done with a screw at the back of the motor housing, and the sensor lights blink red or green if the beam isn’t aligned. If you notice the light blinking regularly, it’s worth having the unit checked.
Craftsman: Older Craftsman openers are rugged but many have force limit screws that have drifted over time. If your door closes harder than it used to, this is often where it started.
Wayne Dalton: Several Wayne Dalton door models use proprietary hardware – check the model before ordering replacement parts. The torque-master spring system (as opposed to torsion or extension springs) is a different design and shouldn’t be serviced by anyone who doesn’t know it.
Raynor: Residential Raynor doors often use extension springs rather than torsion springs, so the visual cues for worn springs differ slightly. If you’re not sure which type you have, don’t guess – call us.
We also service Clopay and Amarr doors. If your brand is on this list, we already know the systems. If it’s not, get a free estimate anyway; in the vast majority of cases we can still diagnose and repair the door.
What You Can Safely Do Yourself vs. What Needs a Pro
The honest answer is that most maintenance is safe to do yourself. The dangerous parts are springs, cables under tension, the bottom brackets, and anything involving the counterbalance system. Those are where people get injured.
Safe to do yourself:
- Lubricating rollers, hinges, springs (with a proper garage door lubricant, not WD-40).
- Testing the auto-reverse and safety sensor with an object.
- Visually inspecting weatherseals, tracks, rollers, and hinges.
- Lubricating and checking the opener’s rails and motor unit.
- Clearing debris, snow, and ice from the door’s base.
Leave to a trained professional:
- Winding, adjusting, or replacing any torsion or extension spring.
- Tightening, adjusting, or replacing cables or bottom brackets.
- Straightening or replacing bent track.
- Adjusting the opener’s force limit if the door still pushes too hard after your best effort.
- Anything where the door feels unbalanced or travels unevenly.
If you’re not sure whether something is safe, call us before touching it. That’s true whether you need a full service call or just want to source a specific replacement part – we supply parts as a standalone service for DIY-capable homeowners who prefer to handle an easy swap themselves. For anything involving springs, the answer is always to call a technician. Our technicians have up to 12 years of experience handling the exact system on your door. We work on your brand, whether that’s a LiftMaster opener, a Raynor door, or a Wayne Dalton with hardware the previous owner installed.
Common Mistakes to Avoid
- Skipping the cable drums and bottom brackets. It’s human nature to check the parts you can see easily, but those top and bottom corner assemblies are where failures start. Make a point of looking at them every season.
- Using WD-40 as a lubricant. It’s a solvent, not a proper garage door lubricant. It cleans and displaces moisture, but it doesn’t leave a lasting film. Use a garage-door-specific product, or spray lithium grease.
- Ignoring a slowly-moving or noisy door. A door that hesitates, groans, or travels unevenly is telling you something. In Brookline’s freeze-thaw winter, minor issues turn into broken springs if you wait.
- Adjusting springs yourself. This is the most common way people get hurt. Never loosen or wind a spring without the right tools and training. It’s dangerous even for experienced hands.
- Forgetting the top weatherseal. The seal at the header is easy to miss because it’s out of eye line. Check it every fall – it’s often the first to fail.
- Letting the opener’s force limit drift. A door that’s set to overpower an object on the ground is a safety hazard. Test it monthly and adjust if it’s set too high.
- Replacing one spring when both are worn. If one’s failed, the other is usually close behind. Replacing both saves the inevitable second call, and a pair is the honest recommendation.
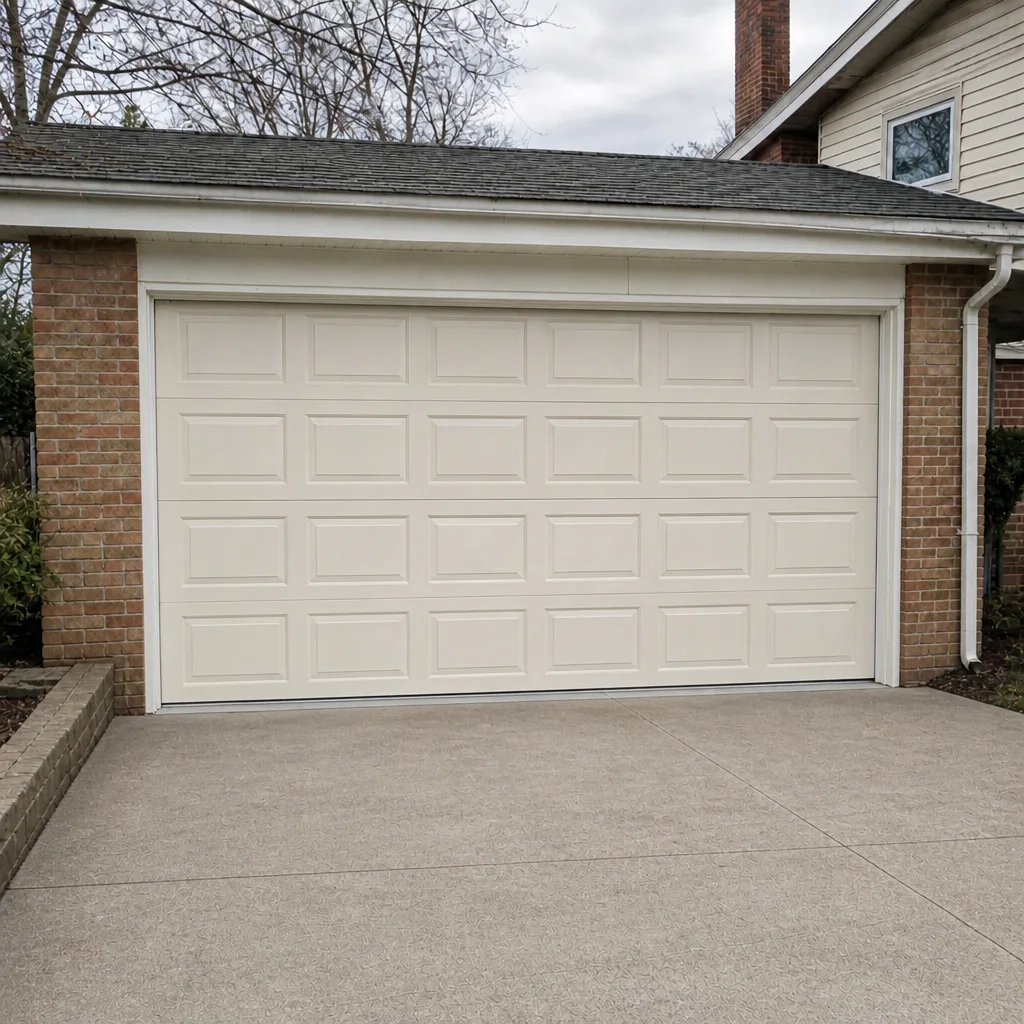
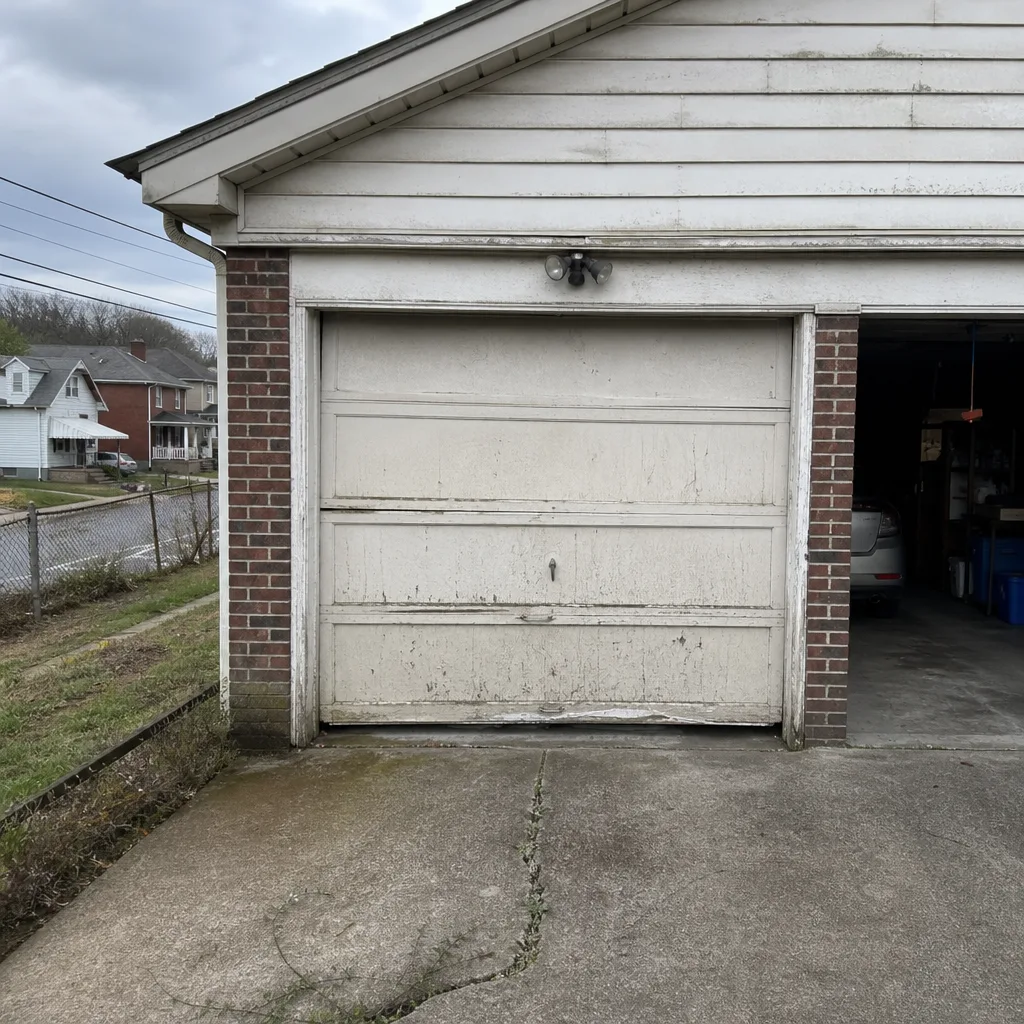
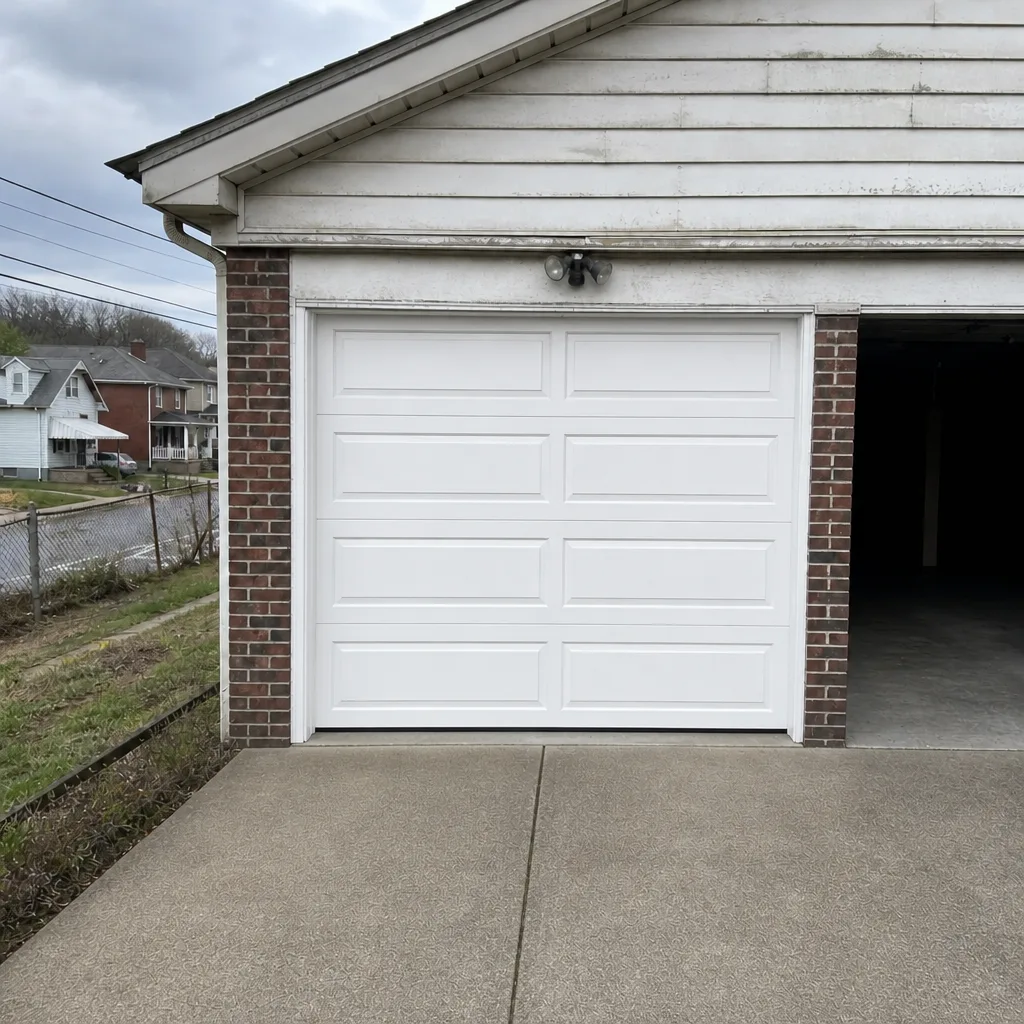
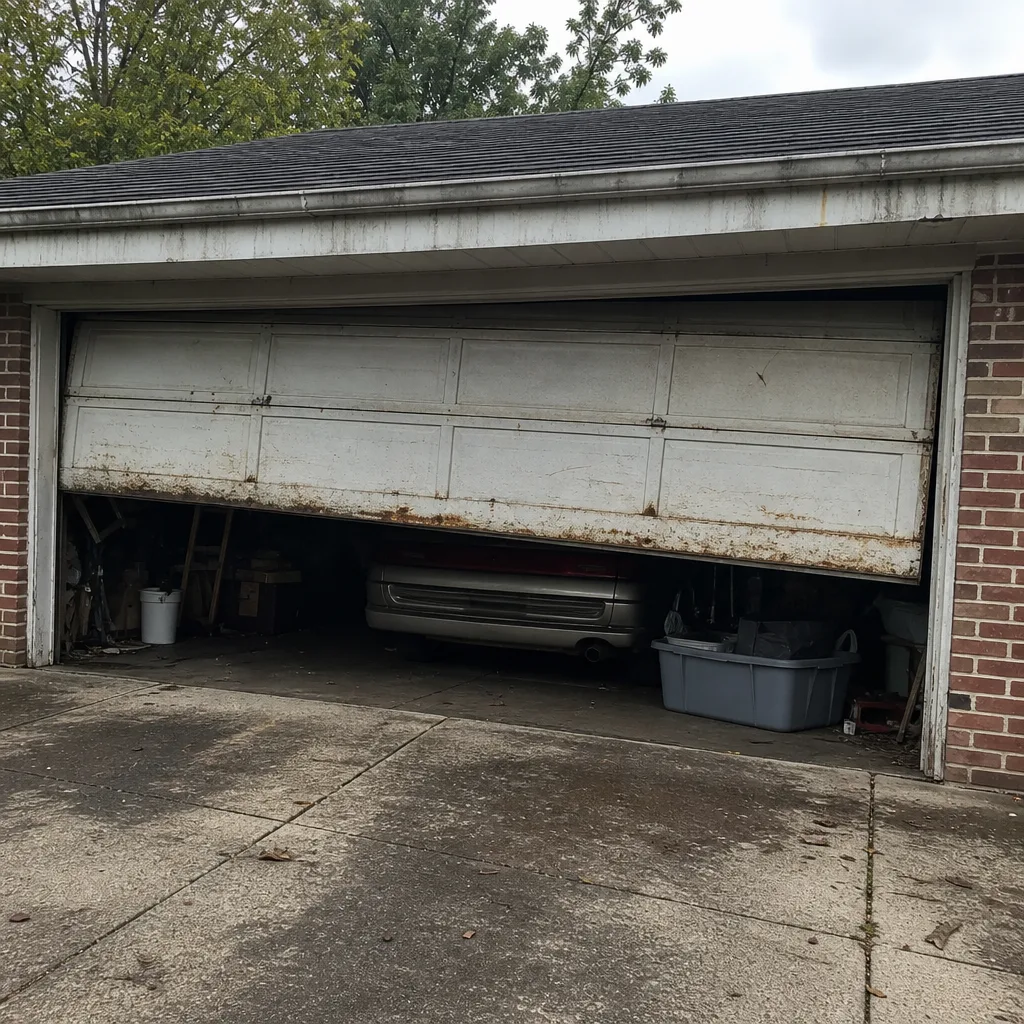
See the difference
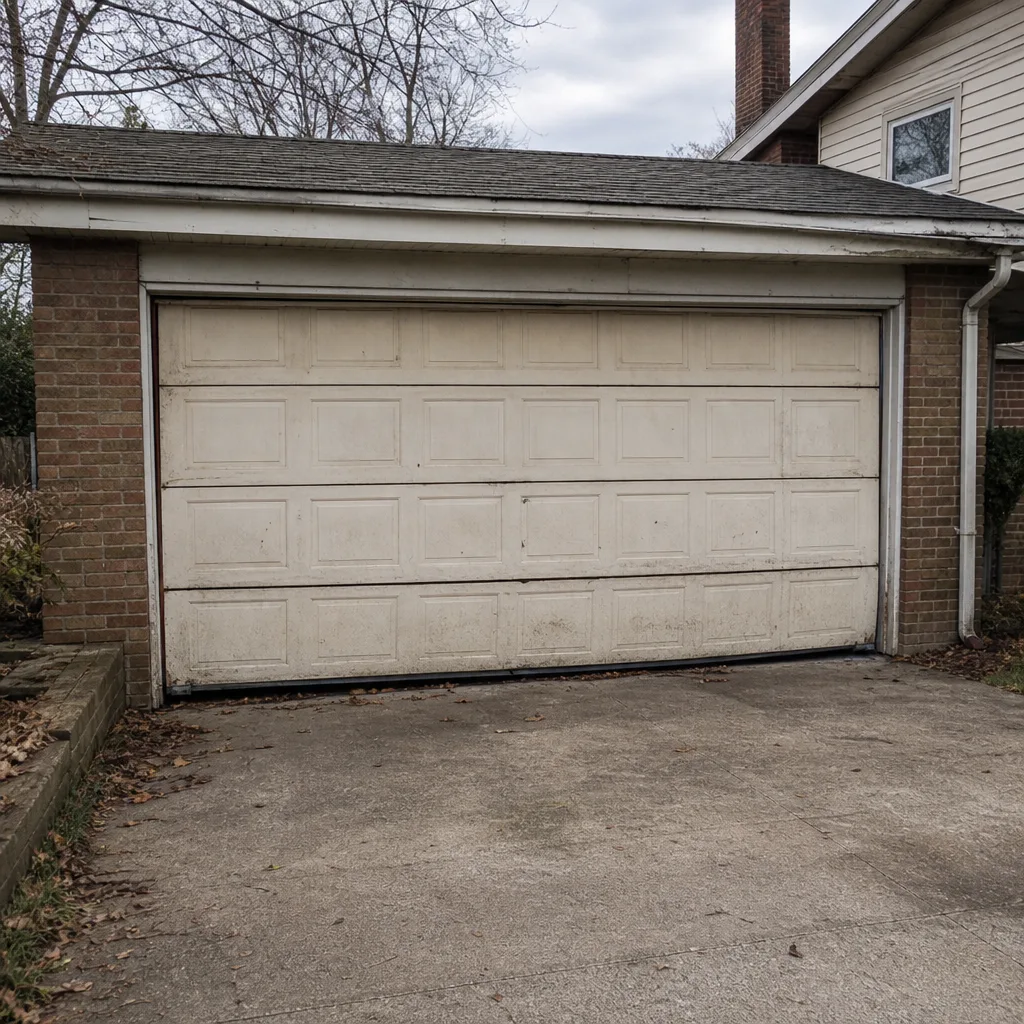 Before
 After
 Before
 After
 Before
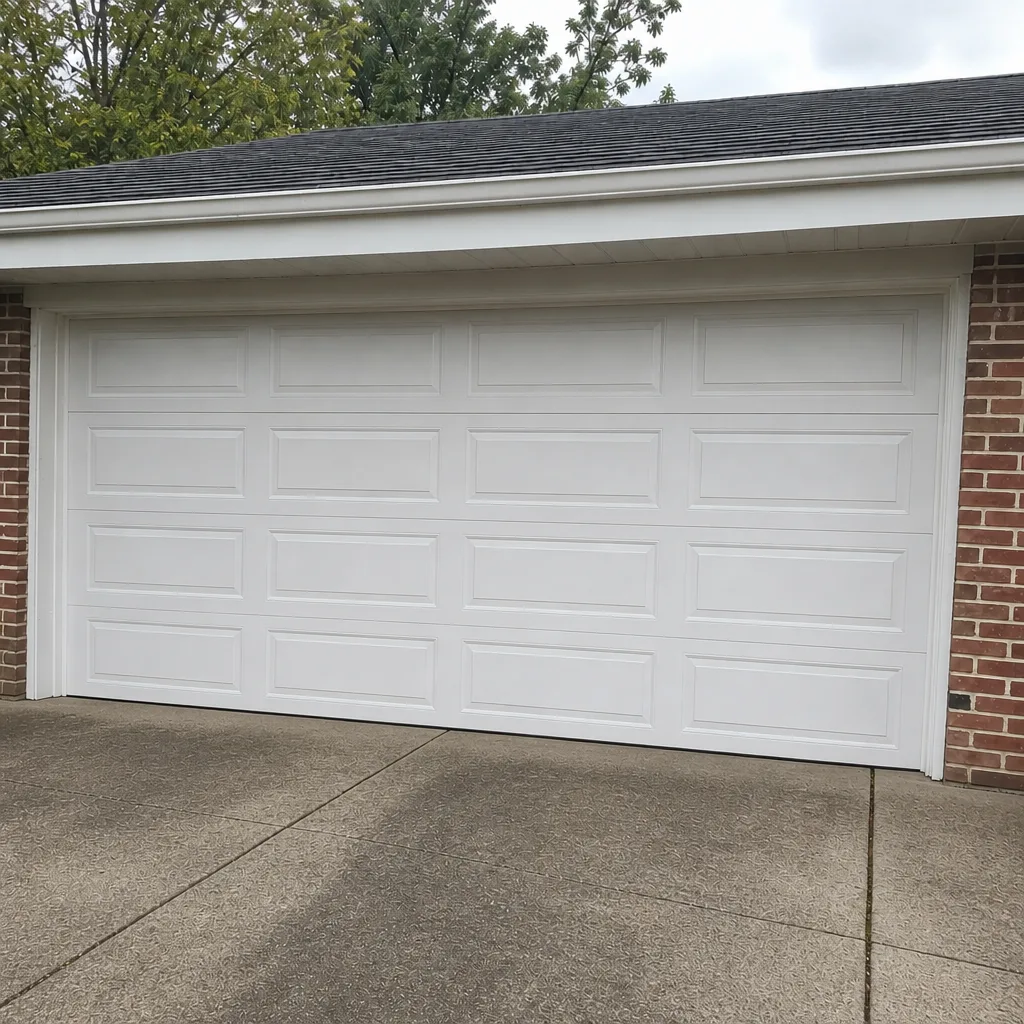 After
When to Call a Professional
Call a trained technician if you find: a frayed or kinked cable, a broken or visibly gapped torsion spring, a bent track, a door that fails the auto-reverse test, a door that travels unevenly, or any component on the counterbalance system showing wear. Springs and cables are genuinely dangerous – they’re under extreme tension, and a mistake can cause serious injury. The good news is that small maintenance items – weatherseals, rollers, hinges – usually aren’t urgent. If you’re not sure about something, the safest move is to leave it alone and get it looked at. Brookline Garage Door Repair Pros offers free estimates in Brookline – call (888) 478-5598 to schedule one. We can take a look, tell you plainly what needs doing, and quote the price before any work starts.
Frequently Asked Questions
Four light inspections a year is a good routine in Brookline – early fall before the freeze, mid-winter after the first cold snap, spring after thaw, and early summer. That’s more than a generic twice-a-year schedule because this climate stresses the door in different ways each season. Call (888) 478-5598 for a free estimate if any inspection turns up a problem.
Yes – you can check the spring’s health from the floor without touching it, by looking for visible gaps in the coil, watching for uneven travel, and doing the manual lift test with the opener disconnected. A door that lifts easily and holds its halfway position has spring tension in decent shape. If the door feels heavy, slams down, or travels unevenly, call (888) 478-5598 for a free estimate before using it again.
Cracks, hardening, compression, and light gaps under the closed door are all signs the seal needs replacing. Check the bottom, sides, top, and corners. A failed seal costs you comfort and money, and it can damage the bottom bracket from moisture sitting at the door’s base through repeated freezes. If you’re not sure, call (888) 478-5598 – estimates are free.
Random reversing or stopping usually points to a misaligned safety sensor, a failing force limit setting, or a loose wire on the sensor. If the sensor lights are blinking when the door acts up, the beam alignment is the likely culprit. If the issue continues after you have checked the sensor alignment, the opener needs professional attention. Call (888) 478-5598 for a free estimate – we handle LiftMaster, Chamberlain, Craftsman, and Genie openers.
Torsion springs are mounted horizontally above the door on a shaft, while extension springs run vertically along the sides of the door on tracks. Most doors installed in the last twenty years use torsion springs, but plenty of older homes around Brookline still have extension springs. If you’re not sure which you have, call (888) 478-5598 – estimates are free.
Most routine maintenance – lubrication, weatherseal inspection, opener testing – is safe to handle yourself. Springs, cables under tension, bottom brackets, and track work need a trained professional. Getting those wrong can result in serious injury, and this is genuinely the part of garage door work that’s worth the call. Call (888) 478-5598 for a free estimate whenever you’re unsure.
The Bottom Line
Most maintenance advice stops at lubrication and a balance test. The failure points that actually send doors out of service – cable drums, bottom brackets, spring tension, weatherseals worn through a Brookline winter, opener force limits – need a closer look. Keep a seasonal inspection calendar, test your auto-reverse every month, and never touch the springs or cables. Handle the small stuff yourself, and call a trained technician when the signs point to a structural problem. When you need a professional, Brookline Garage Door Repair Pros offers free estimates and quotes the price before any work begins. Get it fixed right the first time – call (888) 478-5598 today. From a single spring to a full installation, we’re here to help.
Written by the team at Brookline Garage Door Repair Pros.