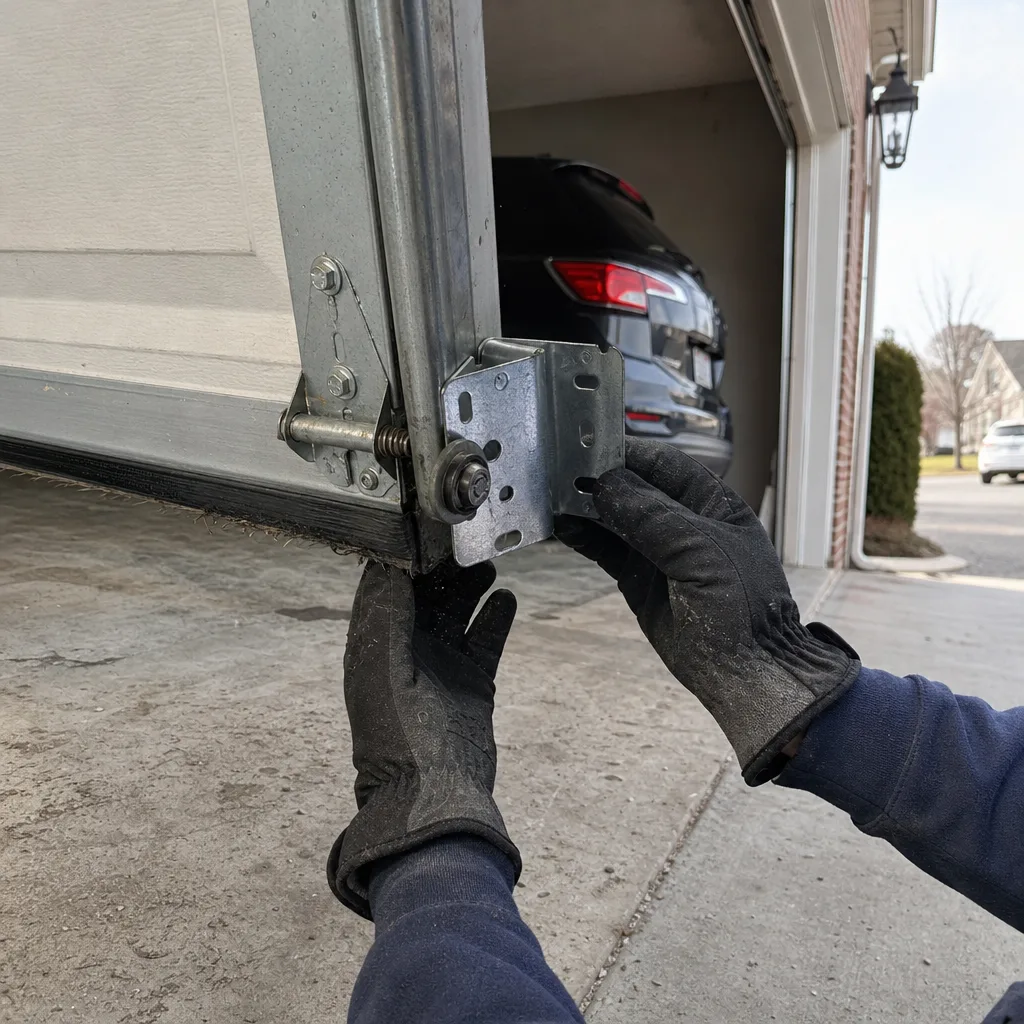
Last updated November 21, 2026
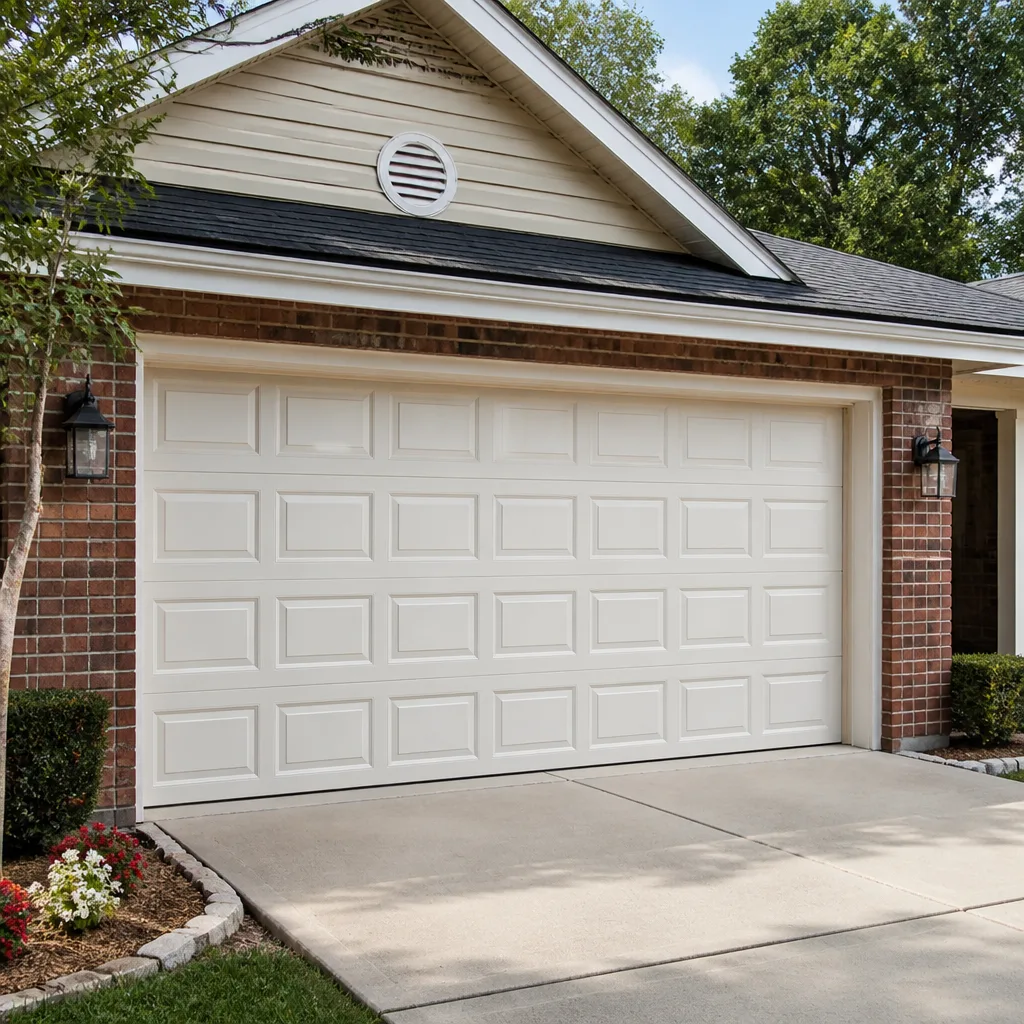 Raised-panel steel
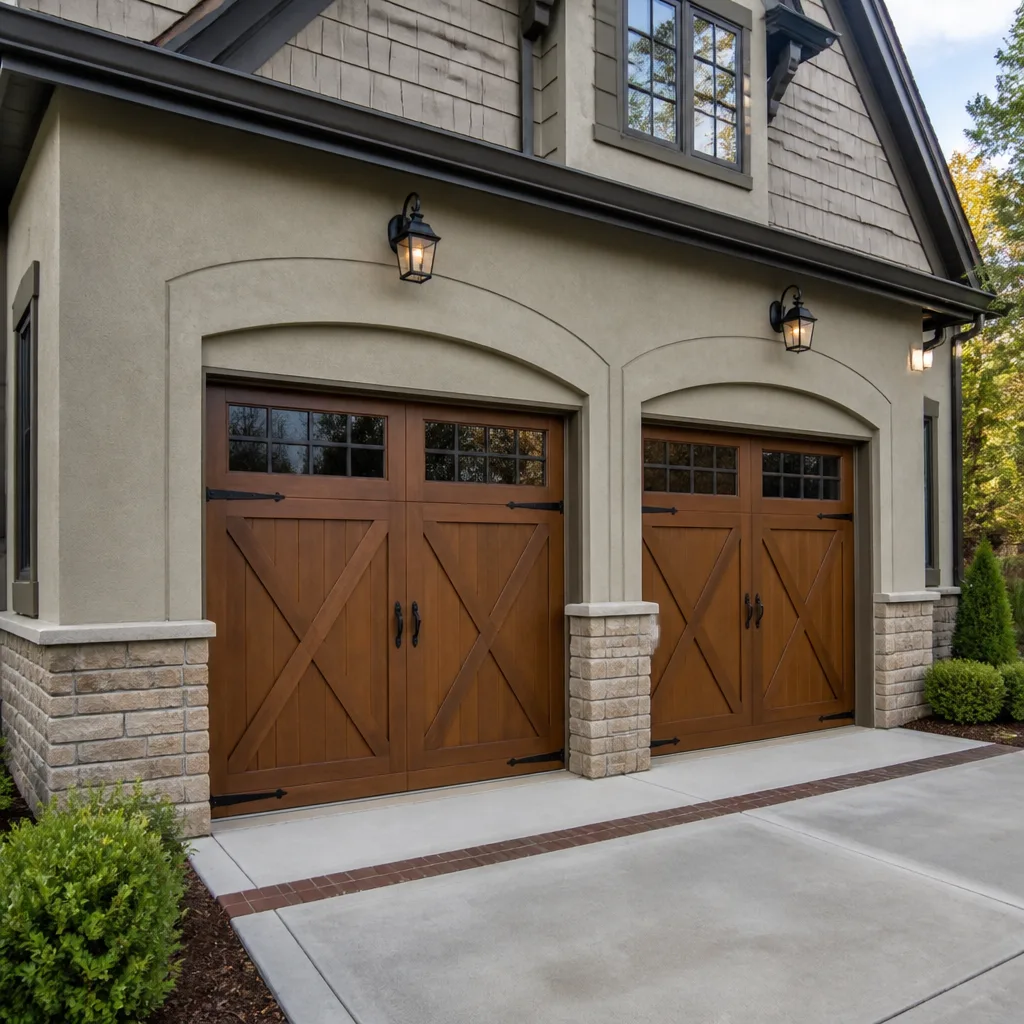 Carriage house
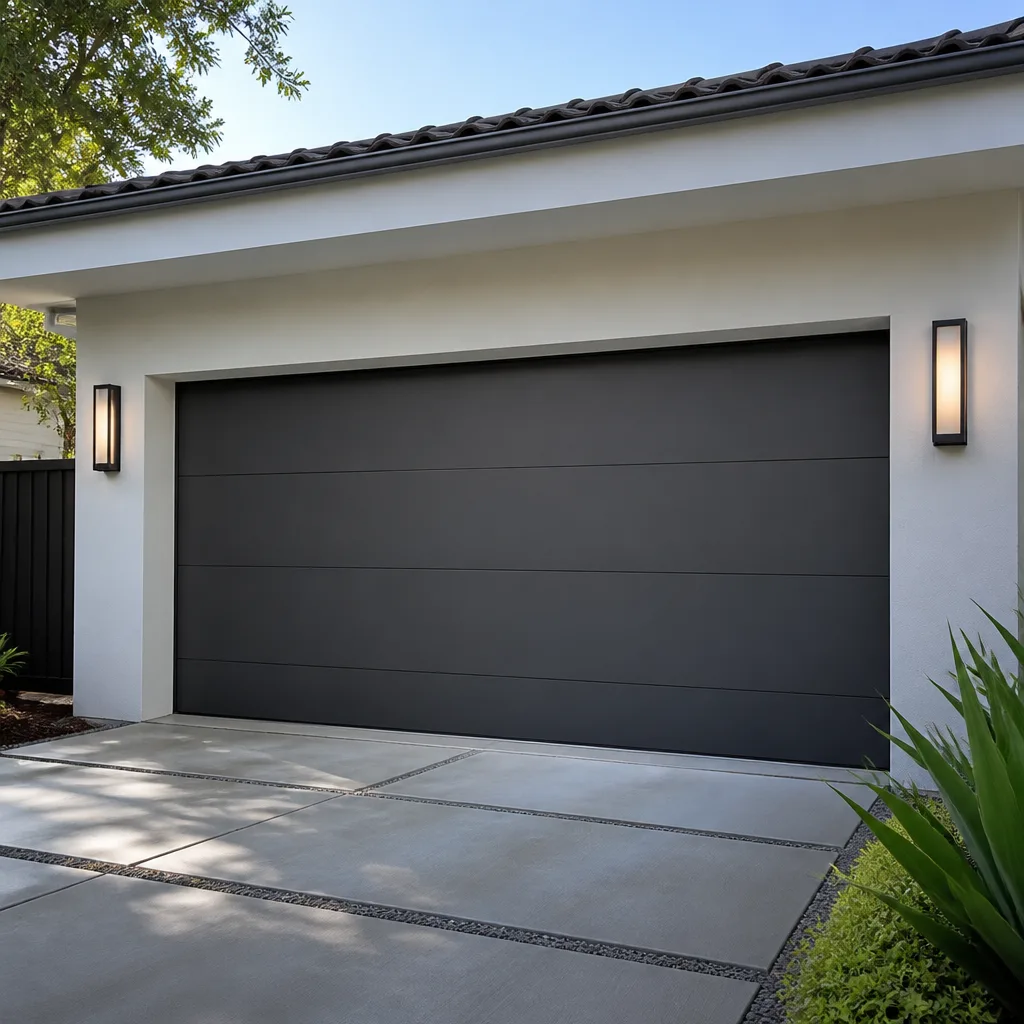 Modern flush
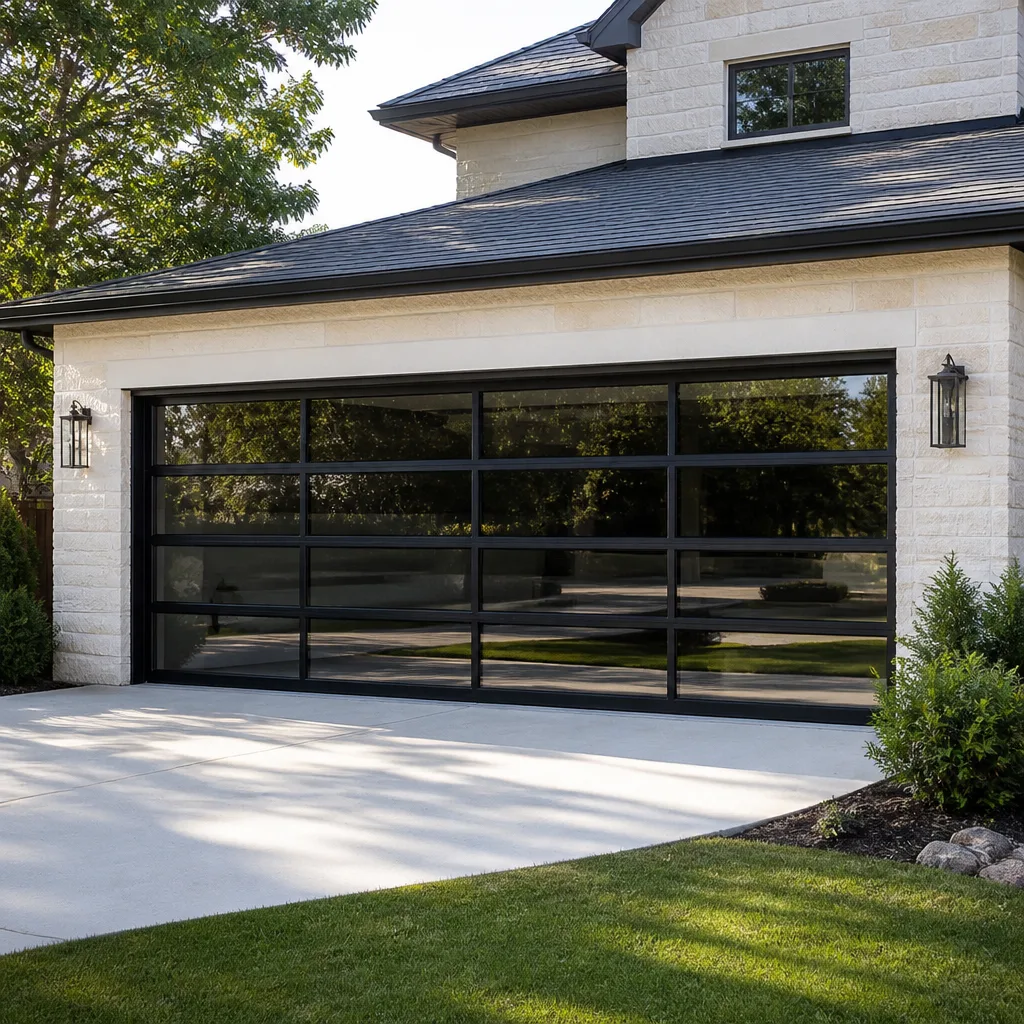 Full-view glass
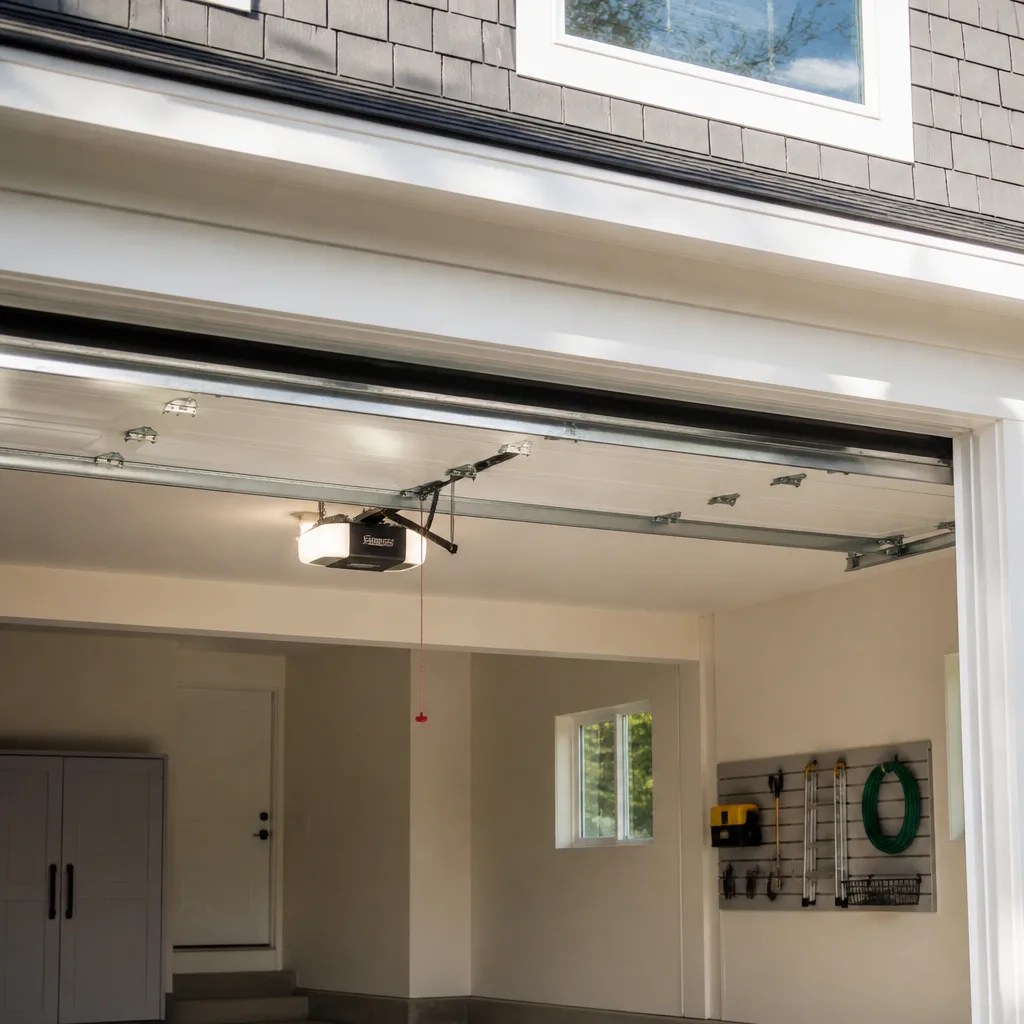 LiftMaster openers
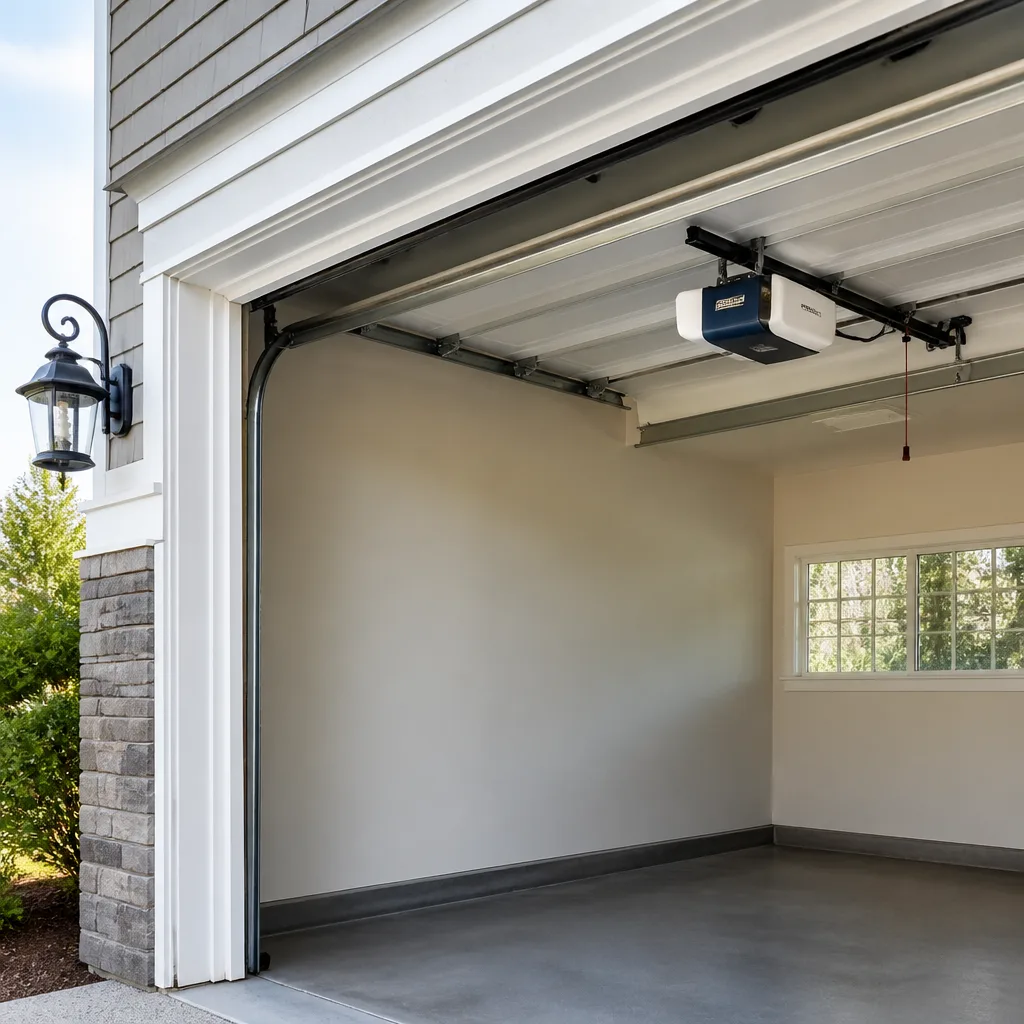 Chamberlain openers
Full 25-point door and opener safety check with every visit - springs, cables, rollers, tracks, and your LiftMaster or Chamberlain opener included
You get a price before we start. It does not change when the pro arrives.
Get your free estimateDIY vs Professional Garage Door: The Brookline Homeowner’s Decision Guide
Most garage door advice gets the DIY line wrong. It frames the question as a matter of confidence or skill – “are you handy enough?” – when the real dividing line is mechanical. A garage door is the largest moving object in your home, and several of its components hold stored energy under enormous tension. That stored energy doesn’t care how capable you are. When it releases uncontrolled, it injures people who were sure they had it handled. This guide draws the line precisely: what you can safely do yourself, what you genuinely shouldn’t touch, and how Brookline’s older garages change the calculus on both sides.
Quick Answer
You can safely handle weatherseal replacement, safety-sensor alignment, lubrication, opener remote programming, and minor cosmetic dent work yourself. You should never touch torsion springs, extension springs, cables, or a track that’s under load – these hold stored mechanical energy that can cause serious injury or death when released. Opener replacement and full door installation are professional jobs in almost every case, and Brookline’s older, low-headroom garages push more tasks into the professional column than a newer home would.
Styles & brands we work with
- Raised-panel steel
- Carriage house
- Modern flush
- Full-view glass
- LiftMaster openers
- Chamberlain openers
Table of Contents
- Why Stored Energy Defines the DIY Line
- What Homeowners Can Safely Do Themselves
- Tasks That Require a Professional No Matter Your Skill
- The Real Cost Math on DIY Opener Installation
- How Brookline’s Older Garage Structures Change the Math
- When a Technician Recommends Work You Think You Can Do
- Brand Familiarity and Why It Matters
- Common Mistakes to Avoid
Why Stored Energy Defines the DIY Line
A torsion spring is a wound coil of steel that counterbalances the weight of the door – often well over a hundred pounds. When the door closes, the spring stores energy. When the door opens, the spring releases it. That’s the whole mechanism, and it’s why a garage door feels light enough to lift with one hand. The spring is doing most of the work.
When a torsion spring breaks or is released without the right tools, all of that stored energy releases at once. A torsion spring under load can cause a broken wrist, fractured skull, or worse. This isn’t a liability disclaimer to scare you off a repair. It’s the mechanical reality that determines where the DIY line actually sits. The line isn’t about how skilled you are. It’s about whether the task involves a component that will hurt you the moment something slips.
That’s why we treat spring repair as its own named service. Springs are dangerous – leave it to a pro. Not because homeowners are careless, but because the tools, the winding bars, the technique, and the physical positioning required to safely release and re-tension a torsion spring are a specialized trade. Many general handymen decline spring work for exactly this reason.
Cables carry the same stored energy in a different form. A garage door cable is under constant tension, and a snapped or released cable can whip across the garage with enough force to break bone. Track realignment sounds benign until you’re working under a door that’s still connected to live springs. That’s the whole point: the danger isn’t visible when everything is intact. It becomes visible only in the half-second when it isn’t.
- Springs (torsion and extension): Stored energy, high injury risk, professional only.
- Cables: Constant tension, sudden-release hazard, professional only.
- Track realignment under load: Door weight plus live springs overhead, professional only.
- Weatherseal, sensors, lubrication, remotes: Low stored energy, safe for most homeowners.
Understanding this distinction is the foundation of every decision in this guide. Once you know which components hold stored energy, the DIY-versus-professional question stops being a judgment call and becomes a checklist. For the tasks that fall clearly on the professional side, our garage door repair work covers them, and the sections below explain why each one belongs there.
What Homeowners Can Safely Do Themselves
A meaningful share of garage door maintenance doesn’t involve stored energy that can hurt you, and doing it yourself is reasonable for a careful homeowner. These tasks are low-risk, low-tool, and generally completed in an hour or less with basic hand tools. Here’s the honest list, with realistic skill and time estimates.
- Weatherseal replacement (30 – 60 minutes, beginner). The rubber or vinyl seal along the bottom of the door wears out, cracks, and lets water and cold air in. It pulls out of its channel and presses back in or is fastened with a few screws. No stored energy, no special tools beyond a utility knife and possibly a putty knife.
- Safety-sensor alignment (15 – 30 minutes, beginner). If the door reverses or won’t close, the photo-eye sensors near the floor are often misaligned or dusty. Wipe the lenses, check that the indicator lights are steady, and nudge each sensor until the beams line up. This is the single most common “broken door” that isn’t broken at all.
- Lubrication (15 minutes, beginner). A garage door has rollers, hinges, and a track that benefit from a proper garage-door lubricant (not WD-40). A light application quiets a noisy door and slows wear. Stay away from the springs themselves – those don’t need lubrication and you shouldn’t be handling them.
- Opener remote programming (10 – 20 minutes, beginner). Adding a remote or reprogramming one after a battery change is a button-sequence job, documented in your opener’s manual. LiftMaster and Chamberlain units, for example, use a learn button on the motor housing. This is safe, quick, and saves you a service call.
- Minor panel dent correction (30 – 45 minutes, beginner to intermediate). A light dent in a steel panel can sometimes be worked out from behind with a soft mallet and a block, or in some cases with a suction tool. Cosmetic only – if the panel’s structure is cracked or the dent is deep, stop and call.
- Visual inspection and cleaning (10 minutes, beginner). Look for frayed cables, gaps in the weatherseal, loose hinges, or a door that no longer sits level. You’re not fixing anything here; you’re catching a problem before it becomes one.
- Battery replacement in remotes and keypads (5 minutes, beginner). Self-explanatory and worth doing before you assume the opener has failed.
Notice what all of these have in common: none of them require you to release or re-tension a spring, disconnect a cable, or work underneath a loaded door. If a task would put your hands anywhere near the springs, the cables, or a track that’s holding door weight, it doesn’t belong on this list regardless of how straightforward the video made it look.
For Brookline homeowners with newer doors, this DIY list covers most routine upkeep. The complication comes with older structures, which we’ll get to. If you’d rather not do even the low-risk items yourself, our team handles them as part of routine service calls, and there’s no obligation to do it alone.
Tasks That Require a Professional No Matter Your Skill
Some garage door jobs are professional-only not because they’re complicated but because the failure mode is catastrophic. Skill level doesn’t change that. A careful, experienced DIYer who releases a torsion spring wrong is in exactly as much danger as someone who’s never held a wrench. Here’s the definitive list and the specific mechanical reason each one is dangerous.
Torsion and extension spring replacement
Torsion springs store the energy that counterbalances the entire door. Replacing one means winding a new spring to a specific tension using winding bars, in a precise sequence, while the door is in a specific position. If the bar slips, the spring releases instantly. Extension springs on older doors store energy differently but carry the same sudden-release hazard, and they should have safety cables running through them – if yours don’t, that’s a professional fix in itself.
Cable replacement
A garage door cable is a steel braid under constant tension. A snapped cable can whip with enough force to cause serious injury, and it can drop the door if the other cable is also compromised. Cables are replaced in matched pairs for exactly this reason. There’s no safe way to disconnect a loaded cable without the proper technique and tools.
Track realignment under load
A bent track sounds like a simple straightening job until you realize the door is still hanging from that track, connected to live springs. Realigning it means either releasing the door’s weight safely or working in a way that keeps the load controlled. A track that’s binding can also cause the door to come off entirely, which is a much bigger problem than a rough ride.
Spring-related opener and balance issues
If your opener strains, the door is heavy, or it won’t stay up, the problem is usually a spring that’s lost tension – not the opener itself. Chasing the opener when the springs are the cause wastes time and money. Diagnosing this correctly requires someone who knows the whole system. Our garage door opener repair team checks the balance and springs first for exactly this reason.
Full door and opener installation
Installing a new door means installing and tensioning new springs, aligning new tracks, and setting the opener’s travel and force limits correctly. Even a top-quality garage door installation done wrong is a door that will fail early or, worse, fail dangerously. This is a measured, scheduled job – not a same-day one.
The common thread: every item on this list involves stored mechanical energy or a load that can shift without warning. That’s the actual criterion, and it’s why we won’t tell you a spring job is something a capable homeowner can manage with a YouTube tutorial. It isn’t.
The Real Cost Math on DIY Opener Installation
Opener replacement is where DIY savings look most tempting and where the math most often goes wrong. A new opener is a boxed product; the installation is a series of adjustments, and the adjustments are where a DIY job becomes a repair call. Let’s do the honest accounting.
The parts side: A replacement opener from LiftMaster, Chamberlain, or Genie typically costs in the range of a few hundred dollars for a standard belt or chain drive, more for a smart-home-compatible unit with Wi-Fi and battery backup. That’s the visible cost. It’s real, and it’s what the DIY case rests on.
The install side: A professional opener installation costs more than the parts because it includes removing the old unit, mounting the new rail and motor, connecting the safety sensors, setting the travel limits and force sensitivity so the door reverses correctly, and testing the whole system. That labor cost is the number the DIY homeowner is trying to avoid.
The hidden side: This is where DIY savings evaporate. Common mistakes that convert a DIY install into a repair call include:
- Travel limits set wrong. The opener either stops short of the floor or keeps pushing after the door is down, straining the trolley and the door. Re-setting requires understanding the opener’s specific adjustment process.
- Force sensitivity left too high or too low. Too high defeats the safety reverse; too low makes the door reverse on its own. Either way, the door doesn’t work correctly and may not meet the safety requirement that a closing door reverses on contact.
- Safety sensors wired or aimed wrong. A common outcome is a door that closes partway and reverses for no obvious reason. Homeowners often replace the opener’s logic board before discovering it was a sensor issue.
- Bracket mounted into inadequate framing. The header bracket has to carry the pull of the whole door. Mounting into drywall or thin material is a failure waiting to happen, and it’s the kind of mistake that isn’t visible until it is.
- Rail alignment off. A slightly misaligned rail causes the trolley to bind, which the opener interprets as a force problem and reverses on. Result: a “new opener that doesn’t work.”
When you add up a service call to diagnose the problem, plus a possible second call to correct the install, the savings on DIY opener installation are often small or gone. In our experience, the homeowners who get the best outcome on opener work are the ones who either install it correctly the first time or have it installed correctly the first time. If you’re weighing it, a free estimate from a pro costs nothing and tells you the real number.
How Brookline’s Older Garage Structures Change the Math
Brookline’s housing stock is a big part of what makes this a Brookline-specific question rather than a general one. Many of the borough’s garages were built decades ago, and some were converted from carriage houses, sheds, or added onto the back of older homes. That age changes what’s safe to DIY in ways a newer suburban garage doesn’t.
Low headroom
Older garages frequently have less vertical clearance than a modern door expects. A low-headroom situation means the door’s tracks and springs may be mounted differently – sometimes with a low-headroom torsion setup or a different track configuration. These are not the configurations most DIY videos show, and working in a cramped space with live springs above your head is a different risk profile entirely. A job that’s routine in a modern garage is a professional task in a low-headroom space in Brookline.
Structurally compromised framing
Older garages often have framing that’s settled, rotted, or undersized by modern standards. The springs, tracks, and opener all attach to that framing. If the header or the jamb isn’t sound, a repair done “correctly” on a compromised structure won’t hold. This is a question best answered by someone who can actually look at the framing and tell you whether it will carry the load.
Out-of-production and legacy systems
Older doors in Brookline sometimes have components that aren’t standard anymore – a specific track profile, a particular spring configuration, or a legacy opener. DIY attempts on these often stall because the parts aren’t available at a big-box store. Parts sourcing becomes its own problem. Our parts service exists partly for this reason: some jobs need a specific component before any repair can happen.
Weather and seasonal movement
Brookline’s cold winters and warm, humid summers mean the wood and framing around older garages move seasonally. A door that’s perfectly aligned in July can bind in January. This cyclical movement is why older garages often need their tracks and springs checked more often than newer ones – and why a DIY fix that works in one season may not hold across the year.
None of this means every older Brookline garage requires a professional for every task. It means the low-risk list in the safe-DIY section shrinks for older structures, and the judgment calls get harder. If your garage is older, low-ceilinged, or visibly settling, it’s worth having a pro look before you decide what’s a DIY job.
When a Technician Recommends Work You Think You Can Do
This is a fair question, and it deserves a straight answer. If a technician recommends a repair and you think you could do it yourself, the right move is to ask one specific question: “What’s the failure mode if this goes wrong?” A good answer names the risk in mechanical terms. A vague answer (“it’s just safer to let us handle it”) doesn’t tell you anything. You’re entitled to a clear explanation, and a professional should give you one without defensiveness.
Here’s how to have that conversation well:
- Ask what the component does. If they can’t explain in plain terms what the part does and why it’s worn, that’s your cue to ask for more detail. A technician who knows the system can explain it.
- Ask specifically about stored energy. If the answer involves springs, cables, or a loaded track, that’s the safety boundary and it doesn’t move. If the answer is a sensor, a seal, or lubrication, it’s fair to say you’d like to handle it yourself.
- Ask what a DIY attempt typically looks like when it fails. A good technician has seen it before and can describe the common failure honestly. That’s useful information for your decision, not a sales pitch.
- Get the price in writing before anything starts. The written estimate is the price. If a recommendation is worth doing, it’s worth being quoted clearly. You should never learn the price after the work is done.
- Ask about the parts. Some repairs are as much about having the right component as doing the work. If the part is unusual or the system is older, that alone may make it a professional job.
A technician who respects your intelligence will tell you where the line is – even when that means telling you a repair you could do yourself. And that technician will tell you clearly when the repair is one you shouldn’t touch, because the stakes are real. You can tell the difference by whether they explain the mechanism or just assert authority. We’d rather you understand the risk than take our word for it.
Brand Familiarity and Why It Matters
Garage door systems vary by brand in ways that matter for repair. A LiftMaster opener and a Genie opener don’t use the same adjustment process for travel limits or force sensitivity. A Chamberlain unit has its own learn-button sequence and its own diagnostic codes. A Raynor door’s spring and track configuration may differ from a Clopay door’s. A technician who isn’t familiar with your specific brand will troubleshoot by trial and error, and trial and error on a garage door is expensive.
We work on eight major brands: LiftMaster, Chamberlain, Genie, Clopay, Amarr, Wayne Dalton, Craftsman, and Raynor. That covers both legacy mechanical openers and modern smart-home-compatible units. It also means the technician who arrives knows your system before they start, rather than learning it on your door. Our technicians have up to 12 years of experience. For a homeowner deciding between DIY and professional, that familiarity is part of what you’re paying for – not just labor, but the judgment to know which adjustment matters and which problem is a symptom of something else.
If you’re sourcing parts for a DIY job on one of these systems, getting the right component for your specific brand and model is half the challenge. Our parts service supports both professional repair calls and customers who’d rather install parts themselves. The advantage to you is you can get the part without committing to a full service call, and you can ask a question about the fit before you buy.
Common Mistakes to Avoid
- Watching a general repair video for a brand-specific job. A video that shows an opener adjustment on one brand can be wrong or unsafe on another. If you don’t see your exact model, stop and find the right documentation or call a pro.
- Assuming a door that won’t close means a dead opener. More often it’s a misaligned safety sensor or a spring issue. Replacing the opener before diagnosing the actual cause is the most common DIY money-waster.
- Testing a spring’s tension by hand. If the door is hard to lift or won’t stay up, the springs need professional attention. Don’t put your hand near them to “check” if they’re still working.
- Skipping the balance check on a new install. After an opener install, the door should balance at the midpoint and reverse on contact with a low obstacle. Skipping these checks leaves a door that fails the first time it matters.
- DIY work on an older Brookline garage without checking the framing. A repair that would hold on a modern structure can fail on settled or undersized framing. Look before you decide.
- Replacing one spring when the pair is worn. Matched springs wear together. Replacing one leaves the other doing more work, and it fails sooner. A matched pair is usually replaced together, which costs about twice a single spring.
- Ignoring a frayed cable because the door still works. A partly frayed cable can fail without warning. It’s a professional fix, and it’s not one to postpone.
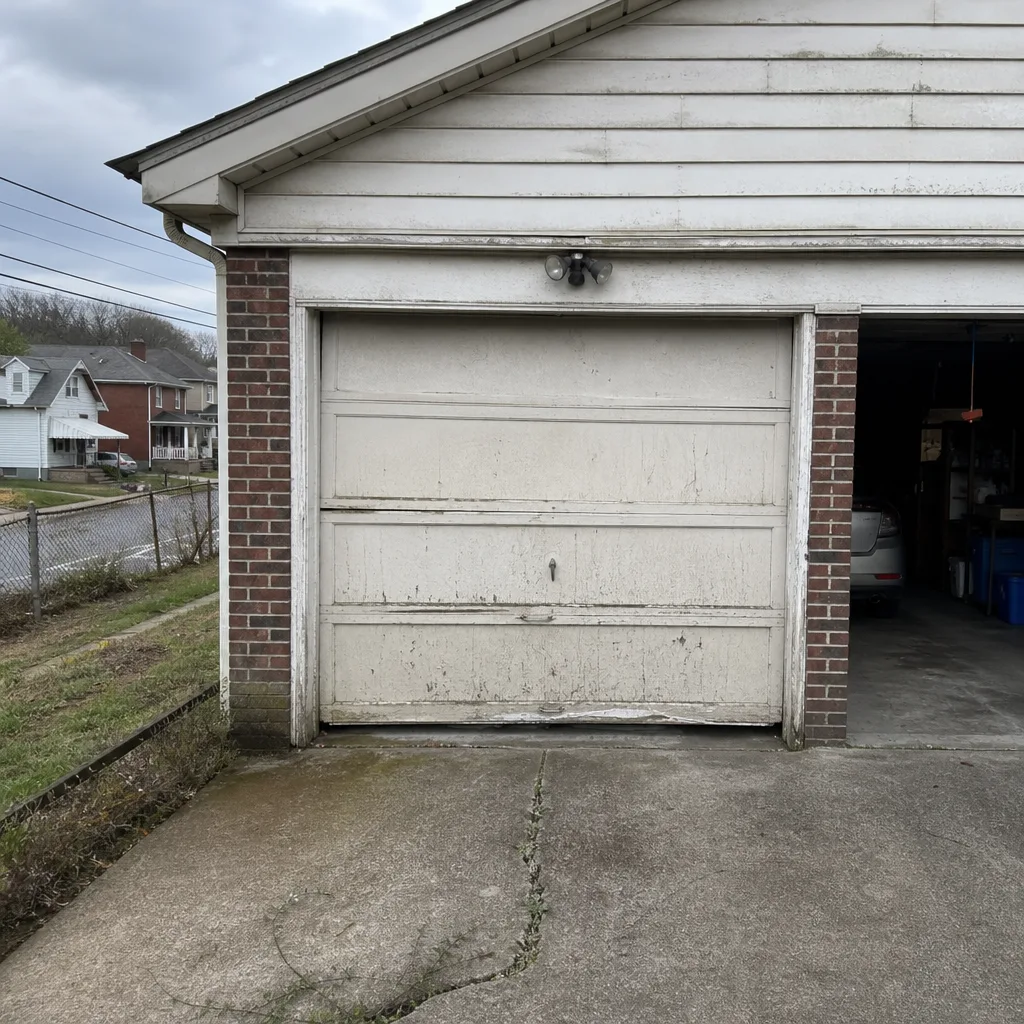
See the difference
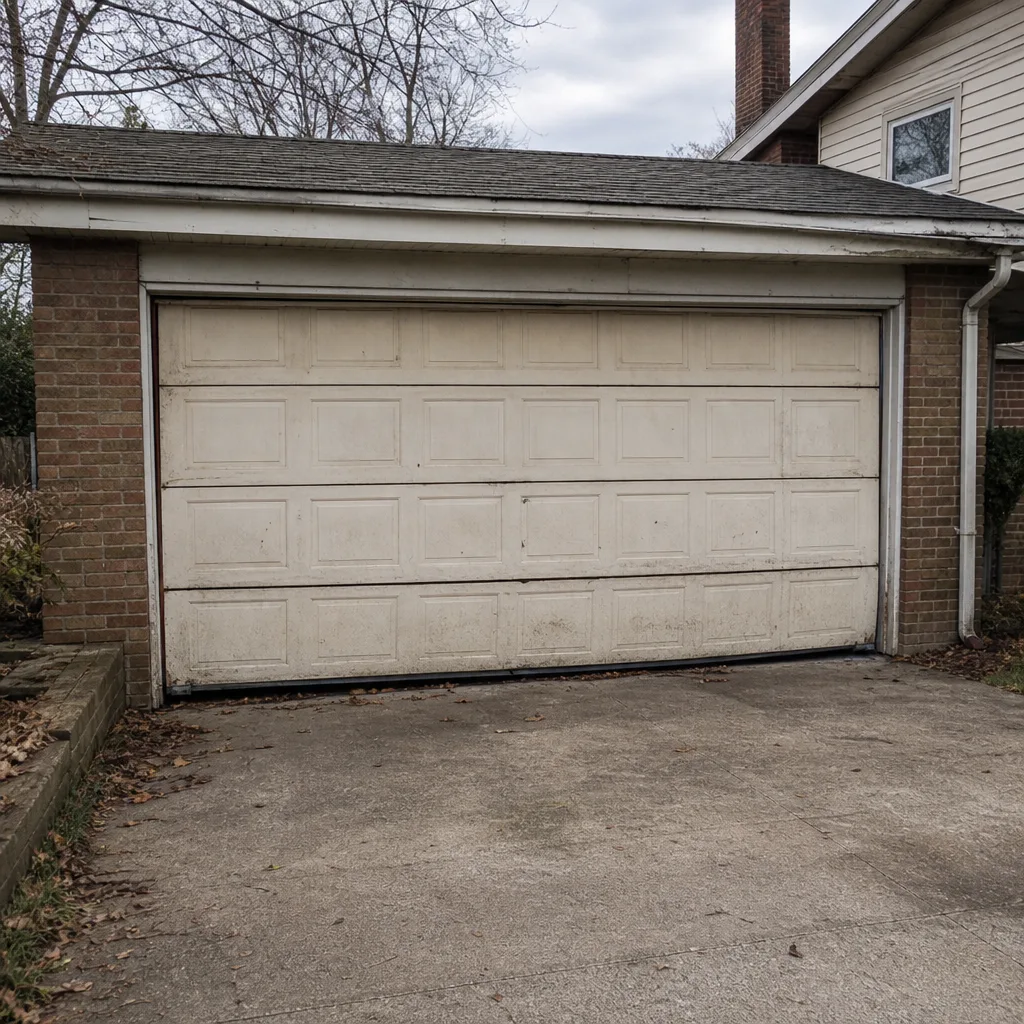 Before
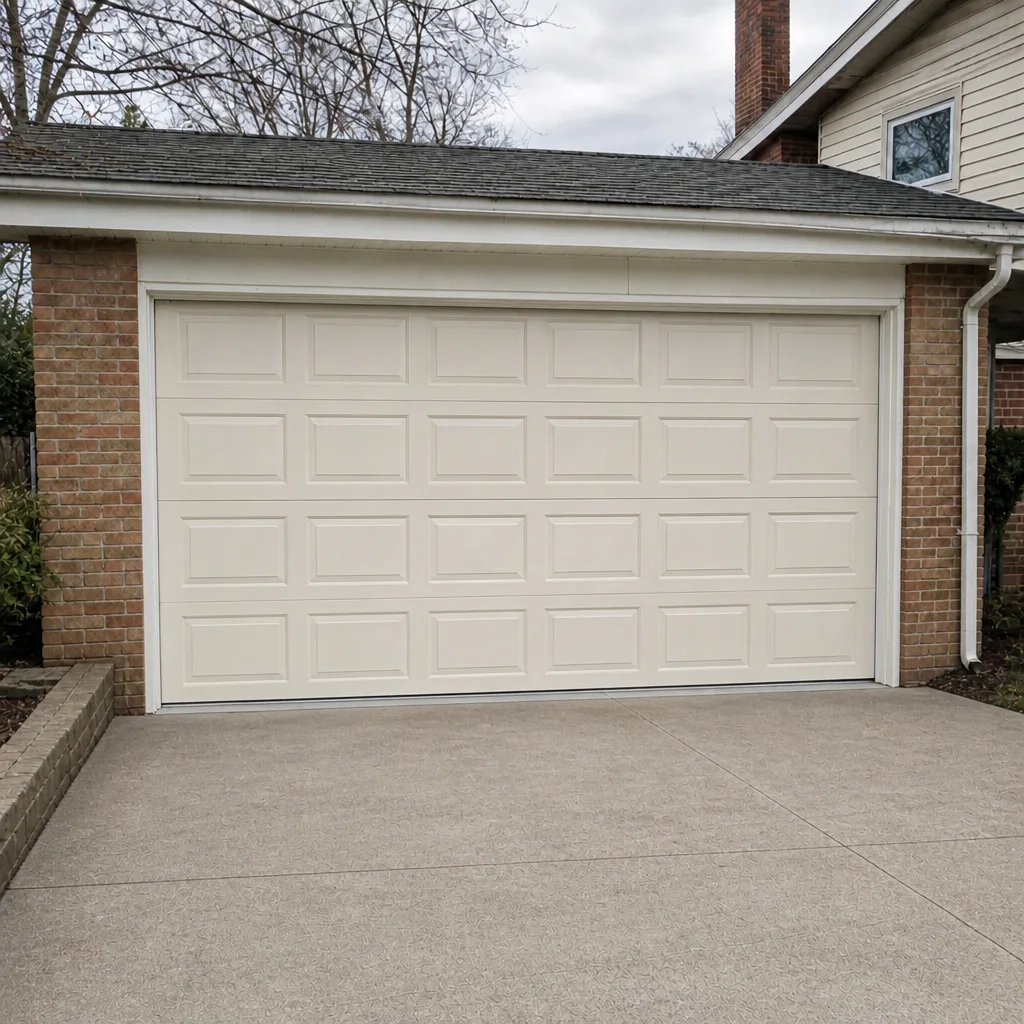 After
 Before
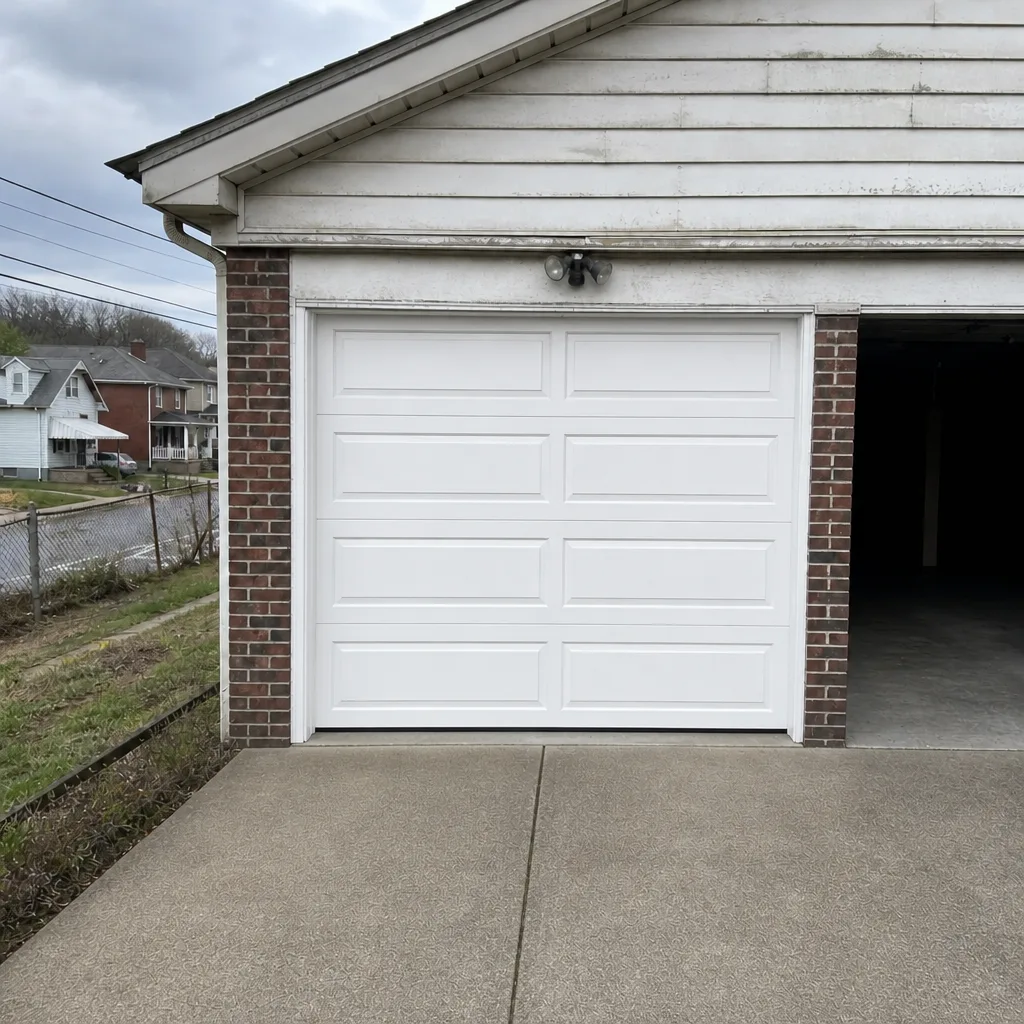 After
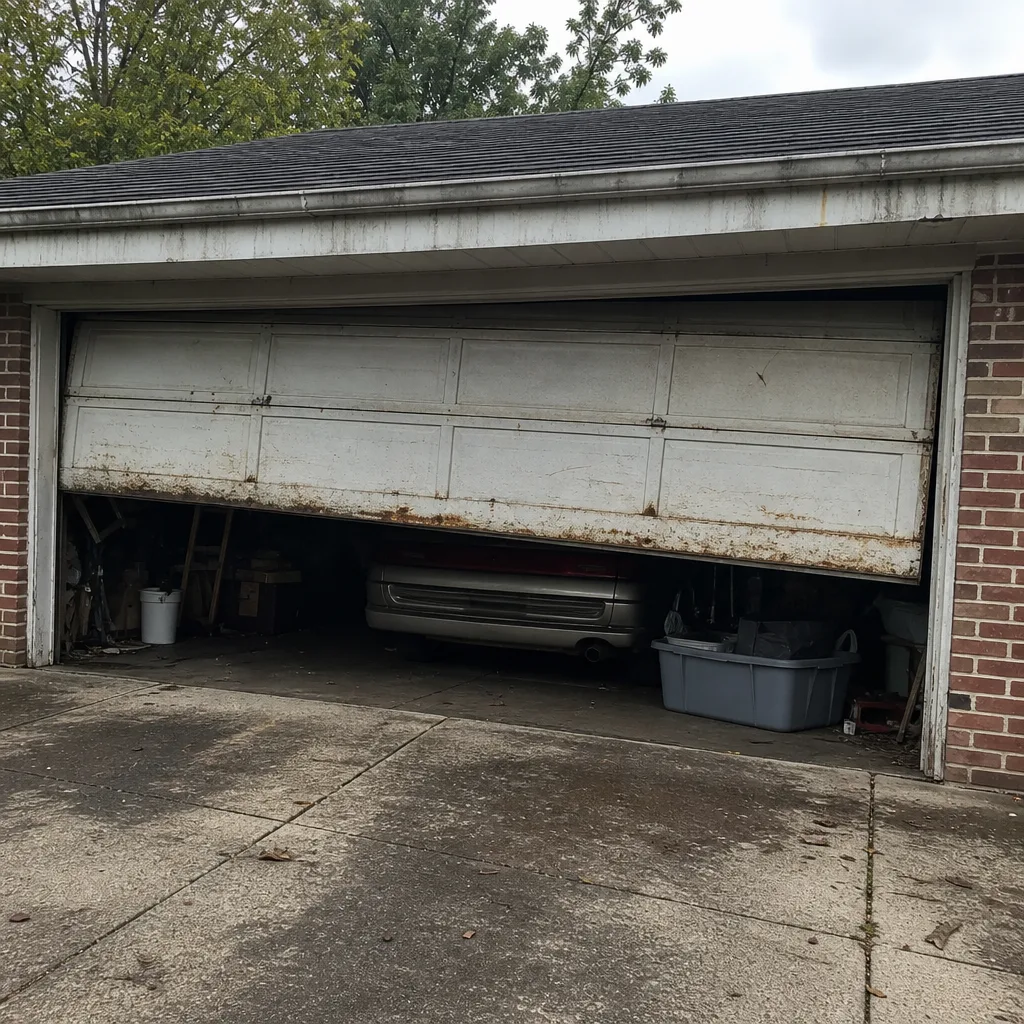 Before
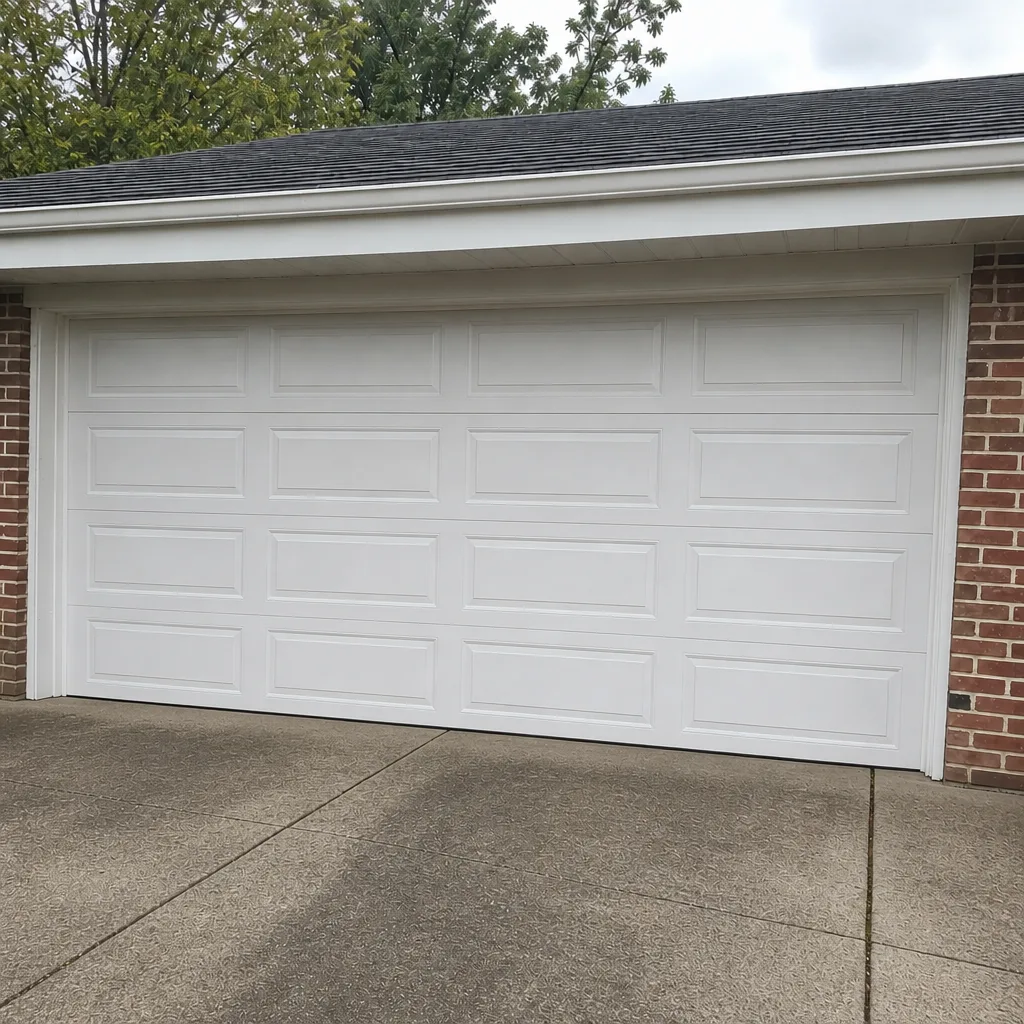 After
When to Call a Professional
Call a professional when the door involves a spring, a cable, or a track that’s under load – no exceptions. Call when the door is difficult to lift, won’t stay up, reverses for no reason you can find, or comes off its tracks. Call when the opener strains, when you’re replacing the opener on a door with older or nonstandard components, or when the garage framing is older and you’re not sure it will carry the new hardware. And call when a repair recommendation involves a component you don’t fully understand, because the risk is not worth learning on. Brookline Garage Door Repair Pros offers free estimates in Brookline – call (888) 478-5598. We’ll tell you where the line is for your door, even when that means telling you a task is one you can do yourself.
Frequently Asked Questions
Weatherseal replacement, safety-sensor alignment, lubrication, opener remote programming, minor cosmetic dent work, and battery replacement are all safe for careful homeowners. None of them involve a component under stored mechanical energy. Anything touching springs, cables, or a loaded track is not on that list.
No. Torsion and extension springs store enough energy to cause broken bones or worse when released uncontrolled, and the correct tools and winding technique are a specialized trade. Spring repair should always be done by a trained professional – call (888) 478-5598 for a free estimate.
Usually not for most homeowners. The parts cost is real, but common mistakes like wrong travel limits, incorrect force sensitivity, and misaligned rails frequently turn a DIY install into a service call. Once you add the diagnostic and correction, the savings are often small or gone. Get a free estimate and compare before deciding.
Spring repair is typically priced per spring, and because springs are replaced in matched pairs, a pair runs about twice the single-spring cost. The written estimate you receive sets the final price. Call (888) 478-5598 for an exact quote – estimates are free.
Low headroom, settled or undersized framing, nonstandard components, and seasonal movement all make older garages less forgiving than modern ones. A job that’s routine in a newer garage can require professional judgment in an older Brookline structure, especially when overhead clearance is limited.
The written estimate is the price. We quote and agree on the work before anything starts, so you’re never surprised by the invoice. For anything beyond a routine check, the estimate comes first and the work follows only after you approve it.
The Bottom Line
The DIY-versus-professional line for garage doors isn’t about skill or confidence. It’s about stored energy. Weatherseals, sensors, lubrication, remotes, and light cosmetic work are safe for a careful homeowner, and doing them yourself is reasonable. Springs, cables, tracks under load, and full installations involve stored mechanical energy or shifting loads that can injure you no matter how capable you are. Brookline’s older garages – low headroom, older framing, nonstandard components – push more tasks toward the professional column than a newer home would. When in doubt, get the free estimate. The cost of asking is zero; the cost of guessing wrong isn’t.
If you’re ready to stop weighing it and get a straight answer on your door, call Brookline Garage Door Repair Pros at (888) 478-5598 for a free estimate. We work on your brand, from a single spring to a full installation, and we’ll tell you plainly which side of the line your job is on. Visit Brookline Garage Door Repair Pros to see the full range of what we do.
Written by the team at Brookline Garage Door Repair Pros.